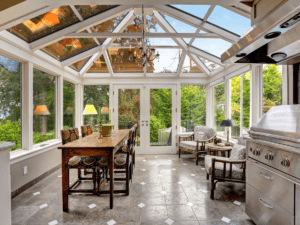
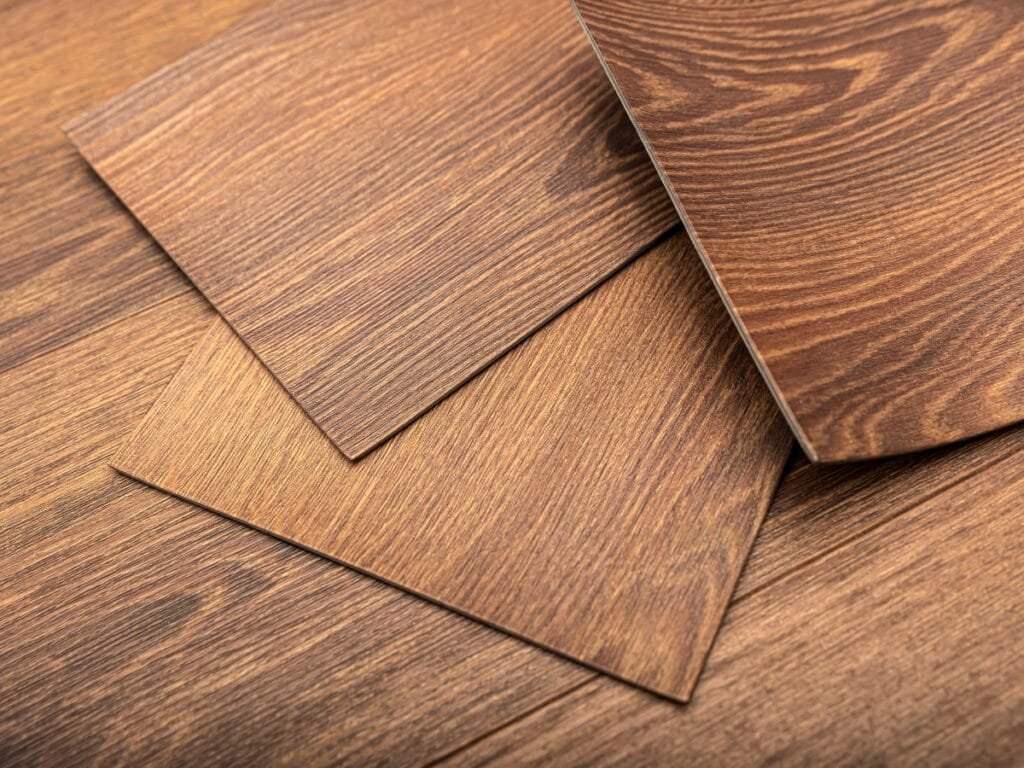
Luxury vinyl plank has become a favorite for homeowners who want the look of hardwood without the maintenance or high cost. Thanks to modern click lock systems, installation is more approachable than ever, even for first-time DIYers. A DIY-friendly luxury vinyl plank click lock guide for installation can help you understand the process, avoid common mistakes, and achieve professional-looking results.
Click-lock flooring is designed to snap together securely without glue, making it a cleaner and faster option for many rooms. With proper subfloor preparation, careful layout planning, and the right tools, you can transform a space over a weekend.
If you’re considering upgrading your floors, this guide breaks down what to expect and how to install luxury vinyl plank correctly so your finished project looks seamless and is built to last.
Step-by-Step Luxury Vinyl Plank Click Lock Guide for Installation
What Is Click-Lock LVP And Why Is It Ideal For DIY Installation?
Click-lock LVP, short for Luxury Vinyl Plank, is a popular flooring option that uses a built-in locking edge to connect planks without glue or nails.
This setup is a big reason homeowners look for a luxury vinyl plank click lock guide before starting a project, because the installation process is more approachable than many other flooring types. Instead of dealing with messy adhesives or specialty fasteners, the planks are designed to fit together cleanly and hold their shape as a “floating” floor.
That said, DIY friendly does not mean mistake-proof. Click-lock floors still depend on good prep work, especially in larger rooms, older homes with uneven subfloors, or spaces with lots of cuts around cabinets and doorways.
Many installation problems that show up later, like gaps, shifting planks, or hollow spots, often trace back to rushing the subfloor prep or skipping key steps like acclimation and expansion spacing.
If the layout is complex or the room has noticeable dips, professional help can still be worth considering. For straightforward rooms, though, click-lock LVP is one of the most realistic DIY flooring projects.
How Does The Click-Lock System Work For LVP Flooring?
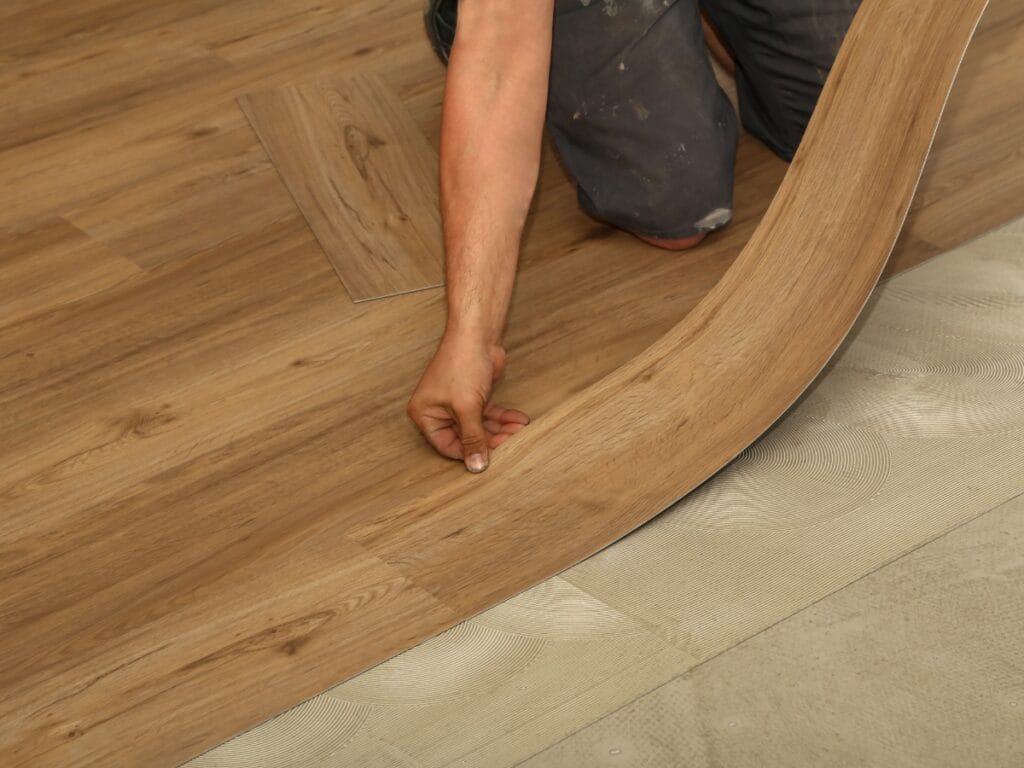
The click-lock system works through matching tongue-and-groove edges that snap together along the long side and end seams.
Most planks connect by angling one plank into the next and pressing downward until you feel it lock. Some products use a “fold down” method, while others may use a tap style lock on the short end, but the goal is the same: tight seams that stay connected under normal foot traffic.
Because the floor is not mechanically fastened to the subfloor, the locking joints do most of the work. That makes it important to handle planks carefully and keep the seams clean.
Dust, small debris, or a damaged locking edge can prevent a plank from seating properly, and even a small issue can create a visible gap. A steady pace and good lighting help more than people expect, since you want to confirm every plank is fully engaged before moving on.
Another reason people like this system is that it is reversible. If you mis-cut a plank or realize your row is drifting off line, you can often unlock a section and correct it without tearing up the whole floor. That flexibility is part of what makes click-lock LVP so attractive for DIY installers, especially compared to glue-down products.
What Are The Advantages Of Floating LVP Installation?
Floating installation is the standard approach for click-lock LVP, and it comes with several practical benefits. First, it is faster and cleaner than glue-based methods, which is why a luxury vinyl plank click lock guide usually focuses heavily on prep and layout rather than adhesives.
Floating floors also make future repairs easier. If a plank gets damaged, you may be able to remove and replace planks by unlocking the floor back to that section, depending on the room layout.
Another advantage is how floating floors handle normal expansion and contraction. Homes experience changes in temperature and humidity throughout the year, and vinyl moves slightly with those changes.
Because the floor is not glued down, it can shift as needed without stressing the planks, as long as you leave proper expansion gaps at the walls and fixed objects. Skipping that spacing is one of the most common causes of buckling or “tenting,” especially in warmer climates or sun-exposed rooms.
Floating LVP is also versatile when it comes to subfloors. It can often go over concrete, plywood, tile, or even existing hardwood, as long as the surface is clean, dry, and flat enough for the product’s requirements. Flatness matters more than people think.
Even if the floor looks fine, small dips or ridges can lead to movement at the seams over time. Taking time to check for uneven areas and address them before installation is one of the best ways to protect the locking system and keep the finished floor looking tight.
Finally, floating LVP can be a good choice for homeowners who want a quieter, more comfortable surface underfoot. With the right underlayment or attached pad, it can reduce noise and add a bit of cushion, without changing the basic installation method.
If you are using this luxury vinyl plank click lock guide as a starting point, the biggest takeaway is simple: the click-lock system makes installation easier, but the long-term results still depend on careful prep, clean seams, and the right spacing from the start.
How Do You Plan And Prepare For Your DIY LVP Installation Project?
A smooth install usually comes down to what happens before the first plank goes down. If you are following a luxury vinyl plank click lock guide, planning is the part that keeps the project from stalling halfway through because of missing material, rushed cuts, or a layout that drifts off track.
Taking time to measure correctly, map out your plank direction, and inspect the subfloor makes the installation itself feel far more manageable.
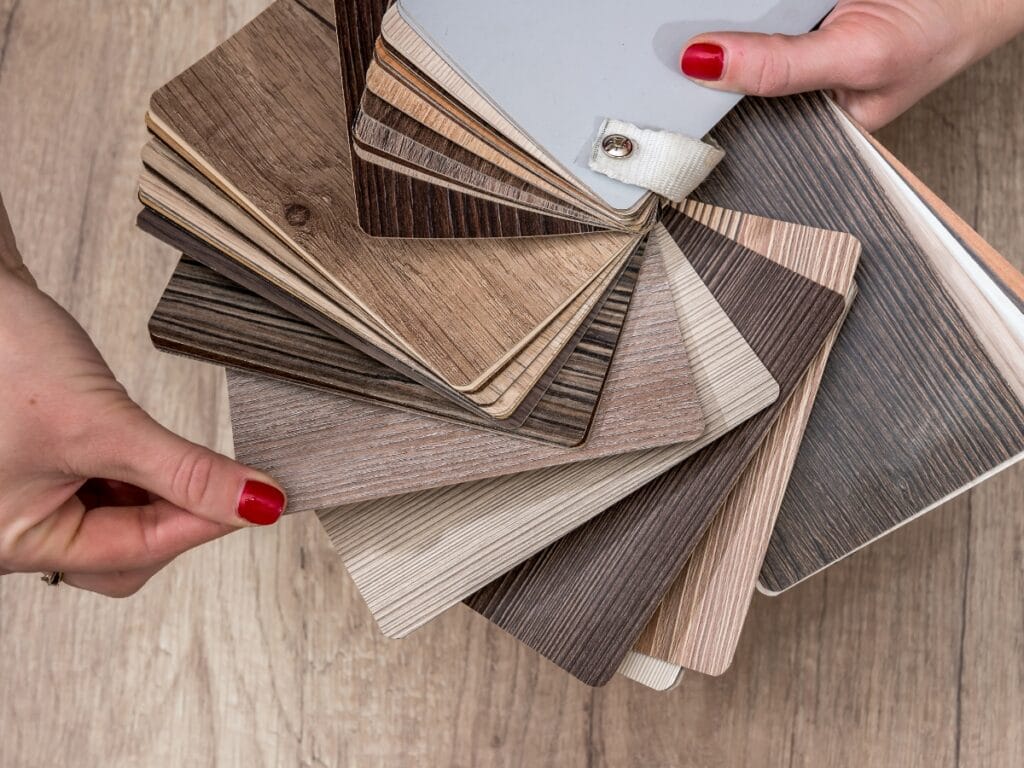
Start by thinking through how the space is used and how the planks will run. In many rooms, planks look best when they run lengthwise with the longest wall, but the “right” direction can also depend on where the main light source hits the floor and how the rooms connect.
If you are installing through a hallway into another room, it helps to picture the transitions and avoid awkward seams that draw attention. It is also smart to check door clearances and decide early whether interior doors will need to be trimmed to swing freely over the new floor.
Before you buy materials, confirm what is staying in place. Heavy built-ins, kitchen islands, and vanities change how you plan expansion space and cut lines.
Click-lock floors are designed to float, so you want to avoid pinning the floor down with tight cuts around fixed objects. This is one of the most common issues that causes later movement or buckling, even when the locking system was installed correctly.
How Do You Measure And Calculate Materials For LVP Flooring?
Measuring is straightforward, but the details matter. Measure the length and width of each area you are flooring, then multiply to get the square footage. If the space is not a perfect rectangle, break it into smaller rectangles, calculate each one, and add them together. Closets, small nooks, and angled sections add up quickly, so include them rather than guessing.
Once you have your square footage, add extra material for waste. For simple rooms with few obstacles, a little overage is usually enough. For rooms with lots of doorways, diagonal layouts, or tight cuts around cabinets, you will want more because you will lose additional plank length to trimming and fitting.
This is also where planning your layout helps. If you can avoid tiny slivers at the edges by adjusting the starting row, you reduce waste and end up with a cleaner finished look.
It also helps to confirm how the product is packaged. Some brands list coverage per box, while others list plank count and plank size. Use the box coverage to calculate how many boxes you need, then round up so you are not short. Even if you find more boxes later, dye lots and production runs can vary slightly, and that is not a surprise you want after the floor is half installed.
Why Is Acclimation Important Before Installing LVP?
Acclimation is a simple step that protects the floor after installation. Luxury vinyl plank is stable, but it can still respond to temperature swings and humidity changes.
If planks are installed straight from a cold garage or hot delivery truck, they may shift once they reach the normal indoor environment. That is when you can see gaps at seams, tight edges near walls, or slight buckling in spots where the floor cannot move freely.
To acclimate, bring the unopened boxes into the room where the floor will be installed and let them sit for about two days. Keep them out of direct sunlight and away from vents blasting hot or cold air. The goal is to let the material reach the same conditions it will live in the long-term. During this time, you can also prep the subfloor, remove baseboards if needed, and verify the floor is dry and reasonably flat.
A good luxury vinyl plank click lock guide will point out that acclimation is not just about the planks. It is also about the space. If you are renovating and the HVAC is not running yet, it is better to stabilize indoor conditions before you install.
Click-lock joints perform best when the planks are installed in a consistent environment and given room to expand and contract with seasonal changes. When acclimation is done correctly, the floor is more likely to stay tight at the seams and look even across the room for years.
What Are the Essential Tools and Subfloor Preparation Steps for Click-Lock LVP?
A successful installation usually depends less on speed and more on preparation. Any solid luxury vinyl plank click lock guide will emphasize that the condition of the subfloor matters just as much as the quality of the planks.
Click-lock systems are designed to float and flex slightly, but they cannot hide major dips, ridges, or moisture problems. Taking time to gather the right tools and prep the surface makes the locking joints perform the way they were designed to.
Before you begin, clear the room completely. Remove baseboards if you plan to reuse them, take out old flooring when required, and sweep the area thoroughly. A clean, open space makes it easier to measure accurately, maintain straight rows, and avoid damage to plank edges.
Which Tools Are Necessary For DIY Vinyl Plank Flooring Installation?
Most DIY installers are surprised by how few tools are required. One reason click-lock products are popular is that they do not demand specialty equipment. A basic utility knife is often enough to score and snap planks, especially for straight cuts. For thicker or more rigid planks, you may prefer a fine-tooth saw, but a knife handles most adjustments.
A tape measure is essential for checking room dimensions and confirming plank lengths as you work. A carpenter’s square helps ensure cuts stay clean and corners remain consistent, particularly around door frames and built-ins.
Spacers are small but critical because they create the expansion gap needed around the perimeter. Without that gap, the floor can press against the walls and cause movement later.
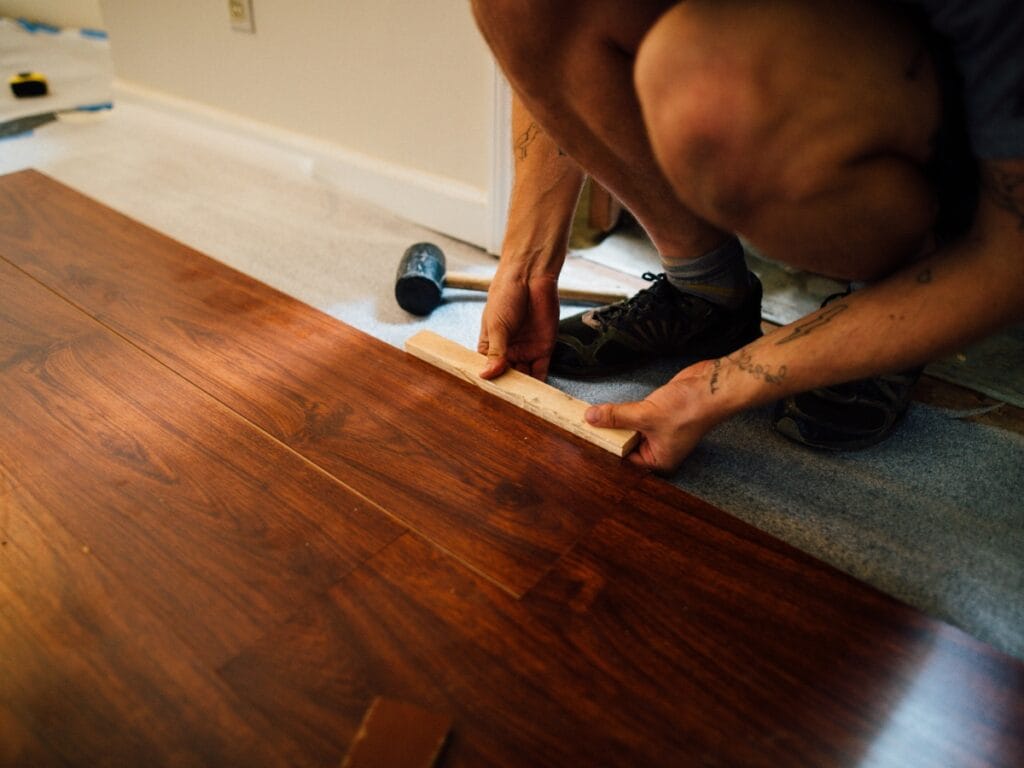
You will also want a tapping block and a rubber mallet. These help secure the joints without damaging the locking edges. A pull bar is useful for the final rows or tight areas where a tapping block will not fit. Each of these tools supports the click-lock mechanism and protects the edges that hold the floor together.
While the tool list is straightforward, the key is using each item carefully. Striking a plank too hard or forcing a joint can weaken the connection. A good luxury vinyl plank click lock guide will remind you that snug, aligned joints matter more than speed.
How Do You Clean, Level, And Moisture-Proof The Subfloor?
Subfloor preparation begins with cleaning. Remove dust, debris, nails, or leftover adhesive from previous flooring. Even small particles can prevent planks from sitting flat, which can lead to flexing or clicking sounds underfoot later.
Next, check for flatness. Most manufacturers specify a flatness requirement rather than a perfectly level floor. In practical terms, this means the surface should not have significant dips or high spots across longer spans. Use a straightedge or long level to identify uneven areas.
Low spots can be filled with a suitable leveling compound, while high spots may need sanding or grinding. Addressing these areas early prevents stress on the click-lock joints once the floor is in place.
Moisture control is especially important when installing over concrete. Concrete can hold residual moisture even if it looks dry. If moisture levels are too high, it can affect the flooring over time.
Many click-lock products include an attached underlayment, but that does not always replace the need for a moisture barrier. For concrete slabs, consider using a vapor barrier or underlayment approved for vinyl flooring. Always verify the specific requirements of the product you are installing.
Wood subfloors require their own checks. Ensure panels are securely fastened and free from soft spots or squeaks. Tighten loose sections before installation. Any structural issues should be addressed before laying planks, since floating floors are not designed to correct subfloor problems.
Why Proper Preparation Matters For Long-Term Results
Click-lock LVP is forgiving compared to many flooring types, but it is not immune to shortcuts. Gaps, seam separation, and uneven wear often trace back to subfloor issues rather than the plank itself.
By following a reliable luxury vinyl plank click lock guide and investing time in cleaning, flattening, and moisture protection, you create a stable base that allows the locking system to function properly.
When preparation is handled with care, installation becomes smoother, and the finished floor looks more consistent across the entire room. The extra effort upfront pays off in durability, comfort underfoot, and a floor that stays secure over time.
What Are The Step-By-Step LVP Flooring Installation Steps For A Successful DIY Project?
Once the room is prepped and your tools are within reach, the installation itself tends to move quickly. The goal is not to rush, but to stay consistent from row to row so the floor locks tightly and looks intentional.
A good luxury vinyl plank click lock guide comes down to three habits: keep the first row straight, maintain the expansion gap, and avoid forcing planks that are not aligned.
Before you start clicking planks together, decide which direction you want the floor to run. Many homeowners run planks parallel to the longest wall because it can make the room feel larger and helps reduce the number of tricky cuts.
If you are installing in multiple connected rooms, think through transitions and thresholds ahead of time so you are not improvising once the floor is half finished.
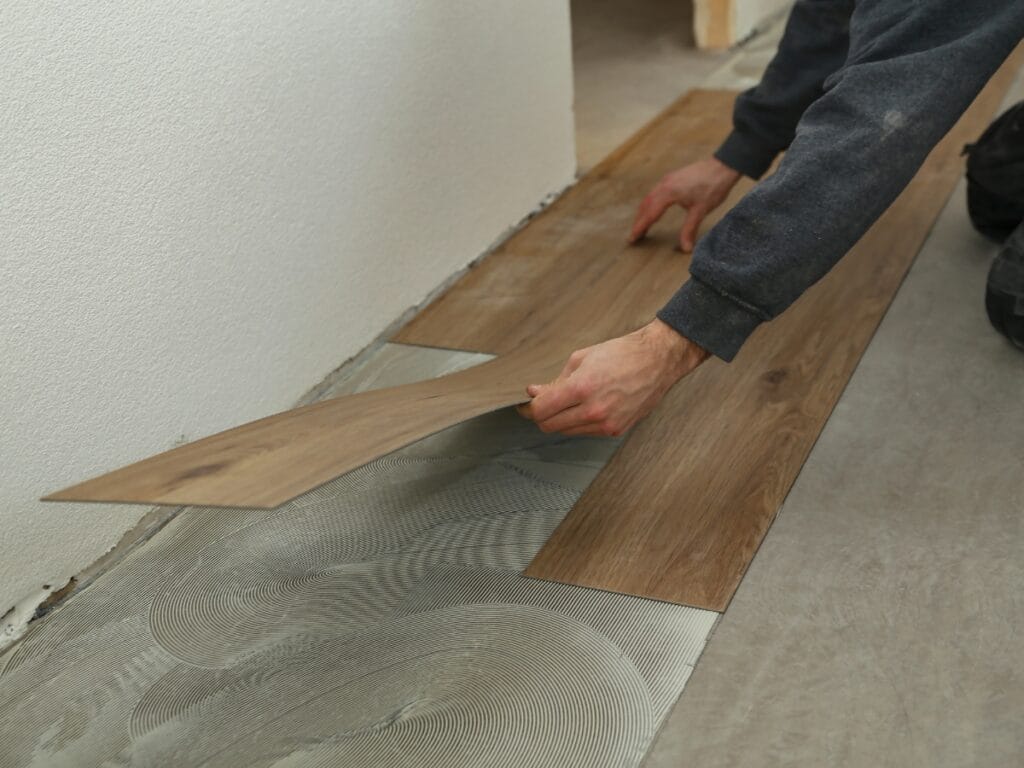
How Do You Lay The First Row And Use Spacers For Expansion Gaps?
The first row is the foundation for everything that follows, so it is worth taking extra time here. Start along the longest, straightest wall and confirm the wall is reasonably square. If the wall bows or angles, you may need to scribe and trim the first row so the finished floor stays straight while still leaving an expansion gap.
Place spacers between the planks and the wall before you lock anything in. This gap matters because a floating floor needs room to expand and contract. A common target is about one-quarter inch, but always follow the guidance from the product packaging. Keep spacers in place as you build out several rows so the floor does not drift toward the wall as you work.
When connecting the first row, align each plank carefully and lock it in without excessive tapping. If you are struggling to close a joint, it usually means the tongue and groove are not lined up yet.
Recheck the angle, adjust, and try again. After the first row is complete, take a moment to verify that it is straight. Small errors early become obvious later, especially in long hallways or open spaces.
How Do You Stagger Seams For A Stronger, More Natural Look?
Staggering end joints helps the floor look more like real wood and also reduces weak points. Instead of lining up plank ends in a grid, offset each new row so the seams land in different places.
Many manufacturers recommend a minimum stagger, and a common guideline is to keep end joints separated by at least six inches. If you are using shorter planks or working in a narrow space, you may need to plan your cuts so the pattern does not repeat too quickly.
A simple way to avoid waste is to use the leftover piece from the end of one row to start the next row, as long as that starter piece is not too short.
This approach naturally creates variation while keeping your joint spacing within the recommended range. As you go, step back occasionally and look at the seam pattern. If it starts forming a visible staircase effect, adjust your next starting length to break it up.
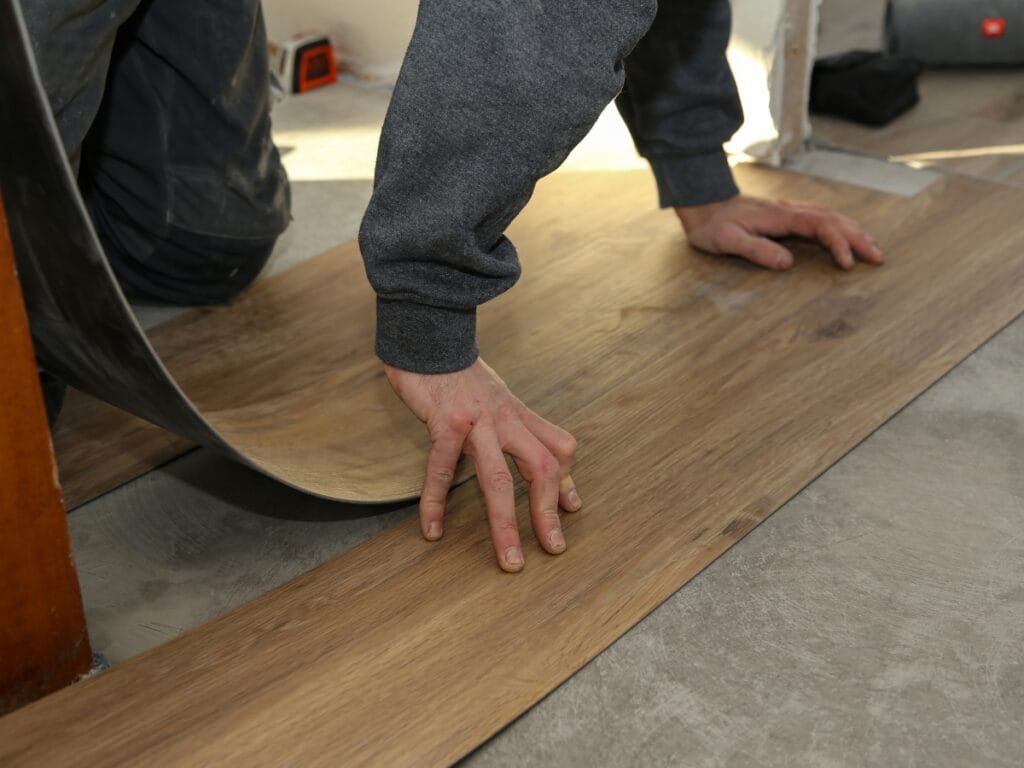
What Is The Best Way To Cut And Fit Click-Lock Vinyl Planks?
Most straight cuts are easy with a utility knife. Measure carefully, mark the cut line, and use a straight edge to score the surface. After scoring, bend the plank to snap it cleanly. For thicker, rigid core planks, you might need a second score to get a clean break, but the technique is the same.
Cuts around vents, door casings, and other obstacles require patience. Measure twice, mark clearly, and dry-fit before locking the piece into place.
Dry-fitting helps you catch small errors before the plank is clicked into the row, which is especially helpful in tight spaces where removing a plank can be annoying. For door frames, many installers undercut the casing so the plank slides underneath, which typically looks cleaner than notching around it.
When you reach the last row, you may need to rip planks lengthwise to fit. Measure the remaining space while accounting for the expansion gap, then cut the planks to width. A pull bar is useful here to lock the final row in place without damaging the edges.
How Do You Know The Floor Is Installed Correctly?
As you work, the floor should feel flat, with tight seams and no obvious height differences between planks. If you notice a section that rocks or separates, pause and fix it immediately. Click-lock floors are forgiving, but only when issues are corrected early.
If you follow these steps and stay consistent, you end up with a floating floor that looks clean and performs well. That is the practical value of a luxury vinyl plank click lock guide: it keeps the process simple, repeatable, and less stressful from the first row to the last.
How Do You Finish and Maintain Your Click-Lock LVP Flooring?
Once the planks are locked in and the last row is tight, the job is not quite finished. The final details are what make the floor look complete, and they also protect the edges so your new surface holds up to everyday use.
In any luxury vinyl plank click lock guide, the finishing stage comes down to two priorities: covering expansion gaps correctly and setting a simple maintenance routine you can actually keep up with.
Before you install trim, take a slow walk through the room and look for small issues that are easier to correct now than later. Check that seams are fully engaged, there are no rocking planks, and cuts around vents or doorways sit flush. It is also a good time to remove spacers and vacuum up any dust left behind from cutting.
How Do You Install Baseboards, Trim, And Transition Pieces?
Baseboards and trim exist to hide the expansion gap around the perimeter, but they should never pin the floor down. Click-lock LVP is a floating system, which means it needs a little room to move as temperature and humidity change. The trim should sit on the wall, not clamp the planks.
If you removed the baseboards before installation, reinstalling them is usually the cleanest approach. If you kept the baseboards in place, quarter round or shoe molding can cover the gap without having to disturb existing trim. Either way, fasten trim to the wall or to the baseboard, not to the floor.
A nail gun works well for most wood trim, while adhesive can be helpful in spots where nailing is difficult, such as certain masonry surfaces. Just keep the adhesive on the trim, not on the planks.
Transitions matter anywhere your LVP meets a different surface, such as carpet, tile, or hardwood. They are also useful in doorways and between rooms if the manufacturer recommends a break for longer runs. The right transition depends on the height difference and the look you want.
Some are made to overlap the edge, while others sit flush. Install them according to the product instructions, and make sure the transition piece still allows the LVP to expand and contract without catching.
If you are working around doorways, confirm doors swing freely after trim and transitions are in. A small adjustment now prevents scuffing later, especially if the door clearance is tight.
What Are The Best Practices For Cleaning And Maintaining LVP Flooring?
A big advantage of LVP is that it is low-maintenance, but “low” does not mean “no.” Dirt and grit are the main culprits behind dulling over time because they act like sandpaper under shoes. Regular dry cleaning is the easiest way to keep the surface looking new.
Start with sweeping or vacuuming a few times a week, depending on traffic, pets, and whether the floor is near an exterior door. If you vacuum, use a hard-floor setting and avoid a beater bar, since that can scratch or scuff some wear layers. For deeper cleaning, damp mopping is usually enough. Use a well-wrung mop and a cleaner labeled safe for vinyl plank flooring. You want the floor to dry quickly, not stay wet.
Avoid harsh chemicals and “shine” products. Abrasive cleaners, waxes, and polishes can leave residue that attracts dirt or creates a cloudy film. Steam mops are also a common mistake. Even though many LVP products are water-resistant, heat and excess moisture can stress seams over time.
A few simple habits prevent most wear. Use felt pads under furniture, especially dining chairs, and choose a mat that will not trap moisture at entry points. If you have rolling office chairs, check that the wheels are soft and floor-safe. When moving furniture, lift instead of dragging to avoid gouges.
If you keep these basics in mind, your floor will stay in good shape without a complicated routine. That is the practical end of a luxury vinyl plank click lock guide: install it with room to move, finish it without trapping it, and maintain it with gentle, consistent care.
When Should You Consider Professional LVP Installation Instead Of DIY?
A luxury vinyl plank click lock guide can make DIY feel straightforward, and for many rooms, it is. Still, there are times when bringing in a professional is the smarter choice because the risks of getting it wrong outweigh the savings.
The biggest difference is not who can click planks together. It is those who can spot the hidden problems that cause failures later, like an uneven subfloor, lingering moisture, or layout issues that leave you with awkward cuts along the most visible wall.
Professional installation is worth considering if you are working in a large space with long runs, multiple doorways, or an open floor plan where the layout has to stay square across the entire area.
It is also a good option when the subfloor needs leveling, patching, or moisture control, since most issues that show up after installation trace back to prep work. If your home has older floors, questionable transitions, or slopes you can feel underfoot, a pro can address those conditions before the first plank goes down.
Warranty rules are another practical reason. Many manufacturers require specific prep steps, underlayment types, and expansion spacing. If you miss one requirement, you could lose coverage even if the product itself is fine.
If you want maximum peace of mind, professional installation can be the simplest path, especially when the room is a high-traffic area like a kitchen, hallway, or main living space.
What Common DIY Mistakes Should You Avoid During LVP Installation?
Most DIY problems come from rushing early steps, not from the actual click-lock process. Acclimation is a common one. When planks do not adjust to the room’s temperature and humidity before installation, you increase the chance of gaps, shifting, or pressure at the seams later. Give the flooring time to sit flat in the space so it settles before it becomes the finished surface.
Measurement and layout mistakes also add up quickly. It is easy to measure the flooring of a room and still end up with a thin strip along one wall, or a pattern that looks off because the seams are not staggered well. A dry layout at the start helps you plan your first row, avoid awkward slivers, and keep the floor visually balanced.
Expansion gaps get overlooked because they do not feel important until they are. Click-lock LVP is a floating floor, and it needs room to move. If the planks are installed too tightly against walls, cabinets, or door jambs, the floor can buckle or peak as it expands. That issue can show up weeks later, which makes it frustrating because the installation seemed fine at first.
Subfloor prep is the biggest make-or-break factor. Installing over a floor that is not flat, not clean, or not dry can lead to bounce, noise, joint separation, or visible ridges.
Even small debris can keep planks from locking fully, and moisture from concrete can cause long-term problems if you skip the right barrier. Any luxury vinyl plank click lock guide will tell you the same thing: the floor only performs as well as what it is sitting on.
How Can Abel Pro Flooring Help With Professional LVP Installation In Marietta, GA?
If you decide that DIY is not the right fit, a professional installer can take the guesswork out of the parts that trip homeowners up. Abel Pro Flooring can handle the details that make click-lock LVP look clean and last, such as checking flatness, addressing minor leveling needs, and planning the layout so the finished floor looks intentional instead of pieced together.
A professional approach also helps when the project includes transitions, trims, or multiple flooring types meeting in one area. Those finishing details affect both appearance and performance, because tight transitions can restrict movement, and poor cuts around doorways draw attention for the wrong reasons.
With professional installation, the goal is a floor that looks consistent from one end of the room to the other, with clean edges and solid locking at every seam.
If you are using this luxury vinyl plank click lock guide to decide between DIY and hiring help, focus on the complexity of the space and the condition of the subfloor. DIY can work well in a simple room with a flat, dry base and minimal cuts.
If your layout is complicated or the subfloor is questionable, professional installation can prevent the kinds of issues that cost more to fix later than they would have to avoid up front.
Conclusion
With its user-friendly click-lock system, luxury vinyl plank offers DIY enthusiasts a beautiful, durable flooring option that can transform a room over a single weekend.
By following proper preparation techniques and installation steps, you can achieve professional-looking results that enhance your home’s style and value.
For those who prefer expert LVP installation precision or need assistance with complex spaces, the professionals at Abel Pro Flooring are ready to help. Ready to tackle your flooring project with confidence? Call 404-566-0749 or visit our website for a free quote today—whether you need materials, advice, or full-service installation, we’re here for you.