Accurately measuring your floors is the foundational step to a successful flooring project, whether you’re ordering materials for a DIY installation or requesting a professional quote. Precise calculations ensure you purchase the correct amount of material, avoiding costly shortages or wasteful overage, while also accounting for unique room shapes, cuts, and pattern layouts. This guide provides a clear, step-by-step method to accurately measure flooring, covering essential tools, formulas for square footage, and key tips to factor in waste, helping you plan with confidence and precision.
Accurately Measure Flooring to Reduce Waste and Save Money
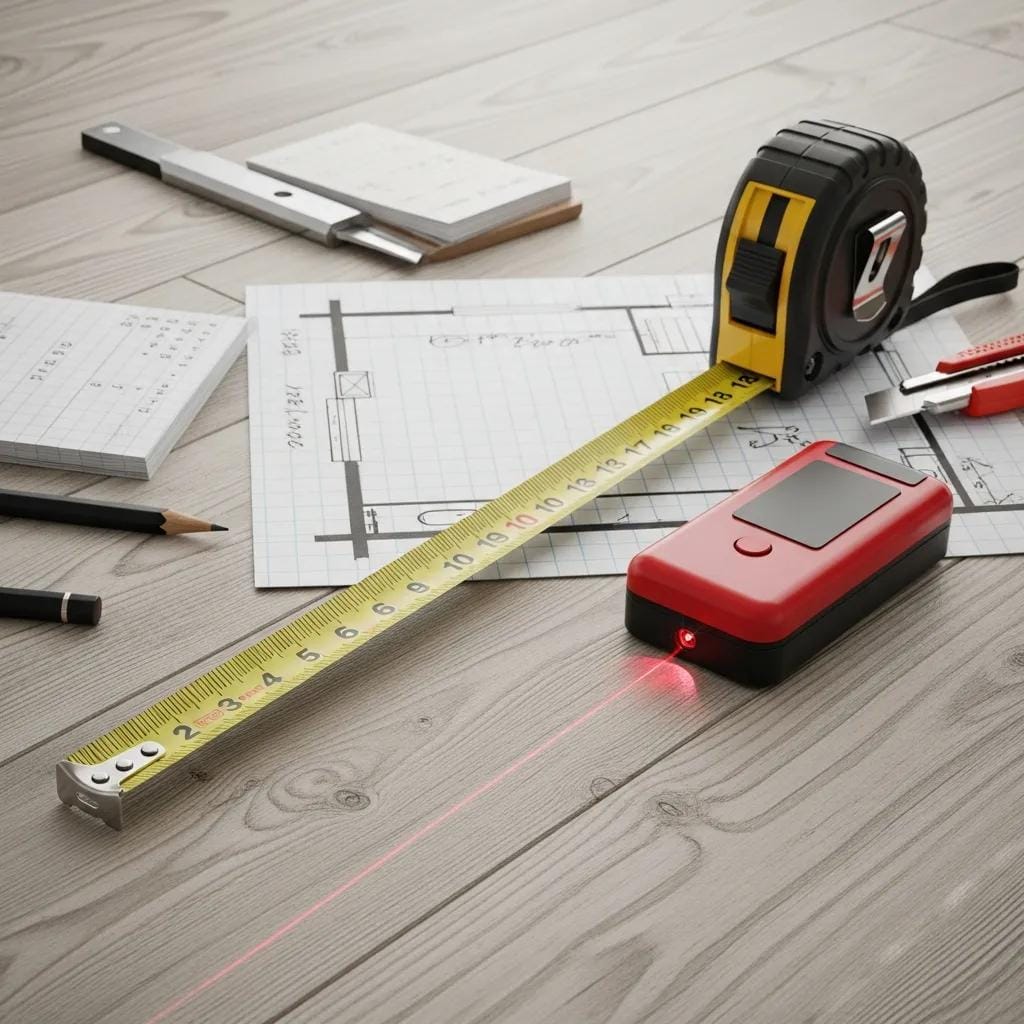
What Tools and Supplies Do You Need to Measure Flooring Accurately?
If you want to measure flooring accurately, the right tools make the process faster and help you avoid costly overbuying or coming up short. Most measuring mistakes happen because people rush, forget to account for odd angles, or rely on rough estimates instead of confirming dimensions. With a few basic tools and a simple system for recording numbers, you can measure confidently whether you are planning tile, vinyl, laminate, or hardwood.
Before you start, clear the floor space as much as possible and decide how you will record measurements. It helps to measure each section of the room methodically, write everything down immediately, and double-check anything that looks off. Even small errors can add up once you start calculating square footage.
Which Measurement Tools Are Essential For Flooring Projects?
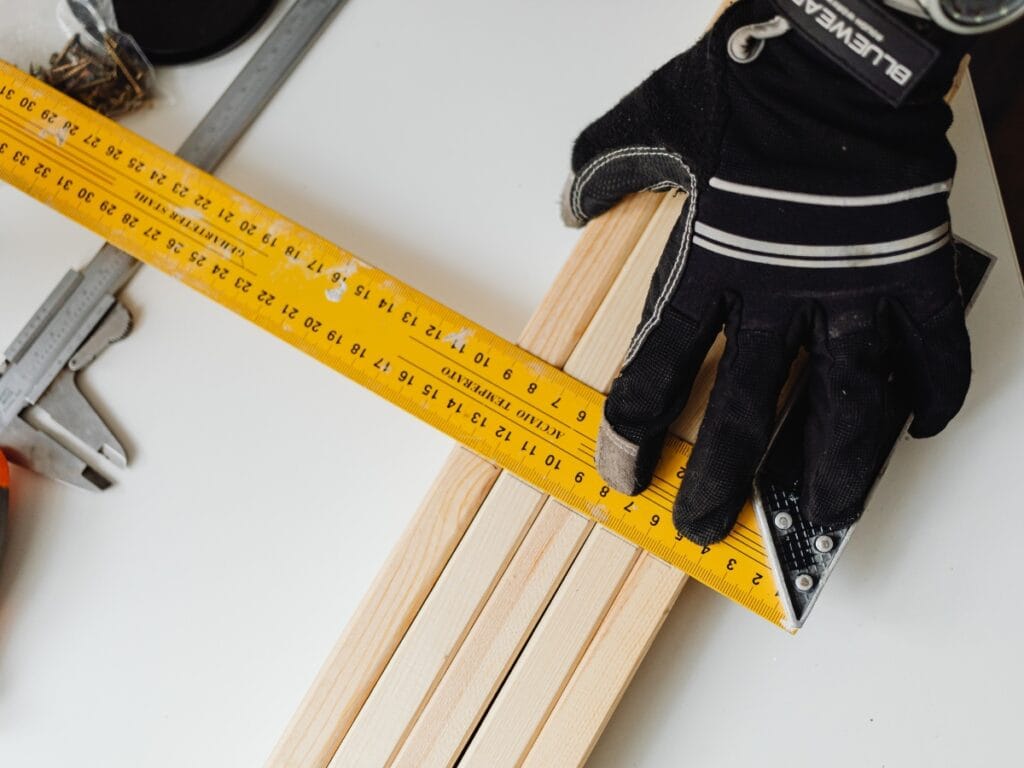
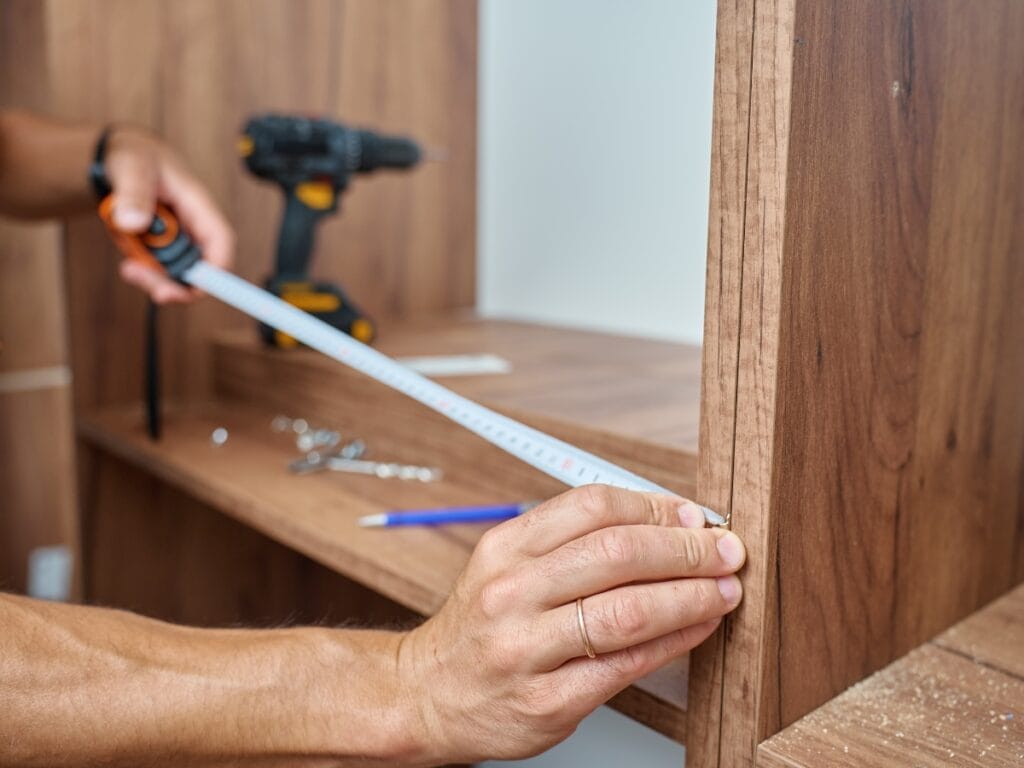
A tape measure is the go-to tool for most rooms, especially when you are dealing with shorter runs, closets, hallways, or spaces with tight corners. A standard tape measure is flexible enough to work around trim and obstacles, and it is easy to confirm measurements twice without resetting your setup. When you measure flooring, use the same unit the entire time and measure wall to wall, not baseboard to baseboard.
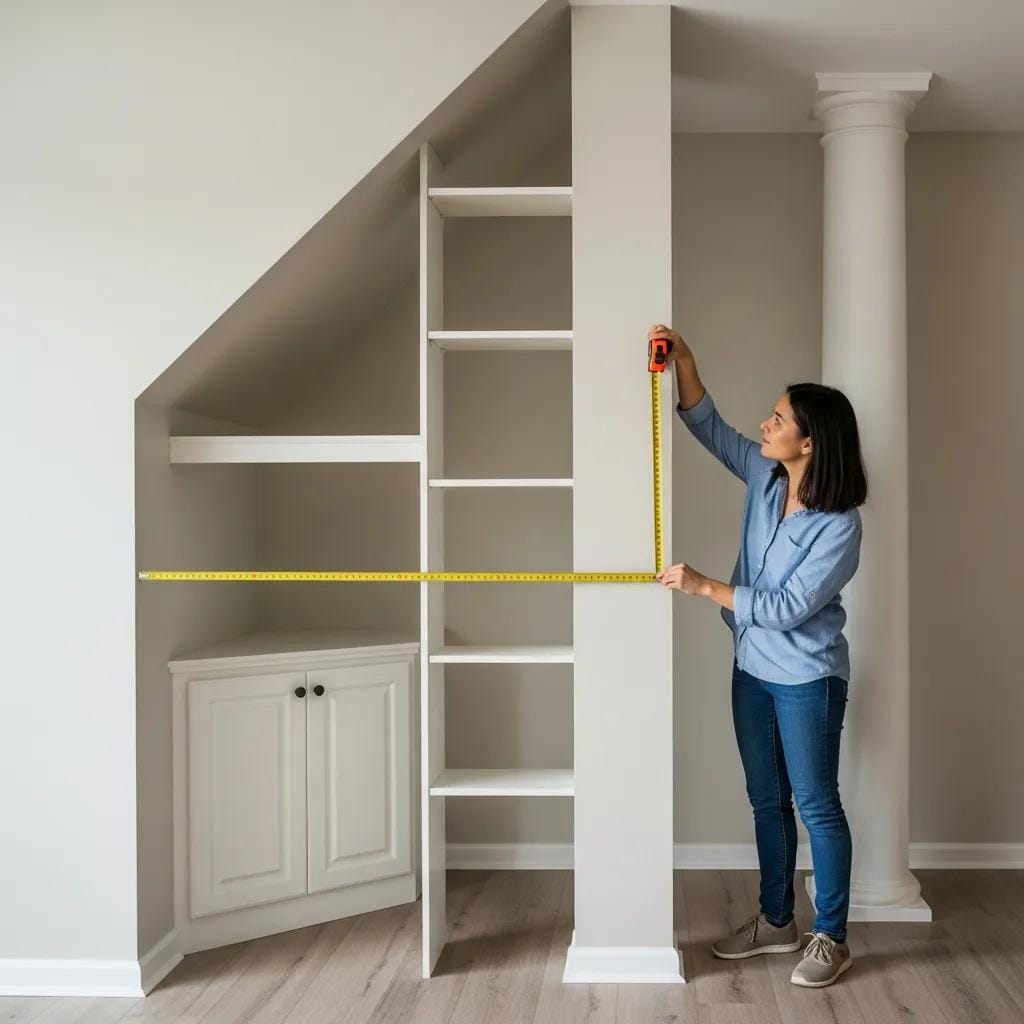
A laser measure is useful in larger rooms or open-concept spaces because it gives fast, straight-line readings without needing a second person to hold the end of the tape. It also helps when you are measuring areas that are awkward to reach, such as long living rooms or rooms with large furniture you cannot easily move. Laser tools are not required, but they can speed things up and reduce frustration.
If you are planning a more complex layout, such as multiple rooms, angled walls, or a lot of transitions, floor plan software can help you visualize the space. Even basic apps let you map rooms, label measurements, and keep everything organized in one place. This is especially helpful when you need to measure flooring across several areas and want to avoid mixing up numbers.
What Supplies Help Ensure Precise Flooring Calculations?
Graph paper is a simple but effective tool for sketching your room and labeling measurements clearly. A quick drawing helps you see the shape of the space, catch missing sections, and remember where each measurement belongs. It is also useful when the room is not a perfect rectangle and you need to break it into smaller sections for more accurate calculations.
A pencil is better than a pen because measurements often change once you re-check a wall or confirm a corner. When you are measuring multiple rooms, it is normal to make adjustments. A pencil makes it easy to correct notes without rewriting the entire sketch.
A calculator is helpful for converting measurements into square footage and estimating how much material you need. When you measure flooring, you will typically multiply the length by the width for each section, then add the totals together. A calculator keeps you from making quick math mistakes, especially when you are adding several sections or converting inches into feet.
To stay organized, it also helps to keep all measurements in one place, either on a single sheet of paper or in a notes app, and to label each room or section clearly. That way, when it is time to estimate materials, you are working from clean, reliable numbers instead of trying to remember what belongs where.
How Do You Measure Square Footage of a Room for Flooring: Step-by-Step
If you want to measure flooring correctly, the key is slowing down just enough to be consistent. Most errors happen when people measure from the wrong points, mix units, or forget to write numbers down as they go. A simple method works for almost any room: measure wall to wall, record each measurement, then calculate square footage using the same unit for every step.
Before you start, clear small items off the floor so you can reach the walls. If furniture is in the way, measure to the edge of it, then measure the remaining distance and add the two numbers together. This takes a little longer, but it is more accurate than guessing. When you measure flooring, always measure in feet and inches, then convert to feet only when you are ready to calculate.
How To Measure Length And Width For Rectangular And Square Rooms
Start by choosing one wall as your “length.” Place the end of your tape measure against the baseboard at one end of the wall, then pull the tape straight to the opposite wall. Keep the tape level and tight so it does not sag in the middle. Record that number immediately, including inches if there are any. For example, write it as ten feet six inches instead of rounding.
Next, measure the “width” of the room by repeating the same process on the wall that runs perpendicular to the first measurement. If the room is truly rectangular or square, one length and one width measurement will typically be enough, but it is still smart to confirm. Measure the width in a second spot, especially if the room has older walls, alcoves, or trim that might make the space slightly uneven. When measurements vary, use the larger number so you do not underbuy materials.
If the room has a closet, bump-out, or nook, treat it as a separate rectangle. Measure that space wall to wall and record it as its own section. This approach makes it easier to measure flooring in rooms that look simple at first but have small shape changes that affect square footage.
How To Calculate Total Square Footage From Room Dimensions
Once you have the room’s length and width, calculate square footage by multiplying the two numbers. The basic formula is length times width equals square footage. If your measurements include inches, convert them into decimals of a foot before you multiply. For instance, six inches is half a foot, so ten feet six inches becomes ten and a half feet.
Here is a simple example. If a room is twelve feet long and ten feet wide, multiply twelve by ten to get one hundred twenty square feet. If you measured a closet separately, calculate that square footage as well, then add it to the main room total.
To finish, build in extra material for cuts and waste. The amount depends on the flooring type and the layout, but it is common to add a little extra so you are not stuck mid-project. The most important part is accuracy at the start. When you measure flooring carefully, the math becomes easy, and your material estimate is far more reliable.
How Do You Measure Irregularly Shaped Rooms and Account for Obstructions?
Not every room is a clean rectangle, and that is where measuring can get tricky. The good news is you can still measure flooring for installation accurately by breaking the space into simple shapes, adding the totals, and then adjusting for anything that permanently takes up floor area. The key is to stay organized, label each section clearly, and double-check measurements before you start calculating.
Start by walking the room and looking for natural “break points.” Alcoves, angled walls, bay windows, and hallway cut-ins usually create obvious sections you can measure separately. If the room has multiple corners or small extensions, do not try to capture it with one long measurement. It is usually faster and more accurate to treat it like several smaller rooms that connect together.
What Methods Break Down Complex Room Shapes Into Measurable Sections?
The most reliable method is to divide the room into rectangles or squares. Use a tape measure to find the length and width of the first section, record it, then move to the next. If a wall jogs in or out, that jog becomes its own rectangle. Once you map the room this way, each calculation stays simple, and you are less likely to miss an area.
Sketching helps, even if you are not great at drawing. A rough outline on paper gives you a place to write measurements and makes it easier to see if something is missing. If you prefer, you can also use paper templates as a visual tool, especially for rooms with odd cutouts or curves. The goal is not a perfect drawing, but a clear reference that keeps your measurements straight.
When a room has angled walls, you can still break it into measurable sections. Measure the largest rectangle that fits the space, then measure the remaining triangular or narrow section separately. For a triangle, you can estimate area by multiplying the base by the height and dividing by two. If you are planning a DIY install and want extra cushion, you can also round up slightly and rely on your waste factor to cover the difference. Either way, this approach makes it easier to measure flooring without guessing.
How To Subtract Permanent Fixtures And Obstructions From Flooring Measurements
Permanent fixtures can affect your total, but you should only subtract items that truly will not have flooring under them. Built-in cabinets, fixed islands that sit directly on the subfloor, and structural columns are common examples. If an appliance can move, or if it will sit on top of the finished floor, it is usually better not to subtract it.
Start by identifying each permanent obstruction and measuring its length and width. Calculate the square footage of that footprint the same way you calculate a room section. Then subtract that number from the total square footage you calculated for the room. If the obstruction is an unusual shape, break it into smaller rectangles just like you did for the room.
One caution when you measure flooring is to avoid subtracting too aggressively. Many installers still run flooring under certain items for a cleaner look or for future flexibility. If you are not sure whether flooring will go under a fixture, it is safer to include that area in your total and let your cut plan handle the rest.
Once you have added up your sections and adjusted for true permanent obstructions, you will have a reliable square footage number. From there, you can add a little extra for cuts and waste, especially in rooms with more corners and angles, since those layouts usually require more trimming and fitting.
What Is the Waste Factor for Flooring and How Do You Calculate It?

When you measure flooring, it is tempting to stop once you have your square footage. In reality, you almost always need extra material. That extra is called the waste factor, and it covers the pieces you trim to fit against walls, around doorways, and into corners, along with any mistakes or damaged boards. Without a waste factor, you risk running short mid-project, which can create delays and headaches, especially if the same style or dye lot is not available later.
Waste is not always “waste” in the literal sense. Many off-cuts cannot be reused because they are too small, the click-lock edge is removed, or the cut does not fit anywhere else in the pattern. Even when you plan carefully, a room with more angles, closets, or transitions usually requires more cutting than a wide-open rectangle. That is why the waste factor is a normal part of material planning, not a sign you measured wrong.
How Much Waste Should You Allow For Different Flooring Types?
A common rule of thumb is to add about ten percent for most flooring types. This works well for straightforward rooms where the layout is simple and the planks run in a standard direction. If you are installing in a space with lots of corners, short walls, or built-ins that create small cut pieces, you may need a little more.
Tile typically requires a higher waste factor because cuts are more frequent and breakage is more likely. Many people plan for ten to fifteen percent for tile, especially if the tile is large format, the room has many edges, or you are working around fixtures. Patterned tile layouts also increase waste because more pieces need precise cuts to keep the design consistent.
For plank flooring, the layout choice can change waste. Straight-lay installations are usually more efficient, while diagonal layouts require more trimming and often produce more unusable off-cuts. If you plan to install on a diagonal or use a complex pattern, build in more cushion when you measure flooring and estimate materials.
How To Incorporate Waste Factor Into Material Estimation
To calculate your material needs, start with the total square footage you measured. Then multiply that number by your waste factor and add it to the total. For example, if your room measures one hundred twenty square feet and you plan for ten percent waste, multiply one hundred twenty by 0.10 to get twelve. Add that to one hundred twenty, which gives you one hundred thirty-two square feet of material.
If you are measuring multiple rooms, you can calculate waste per room or after you add everything together. Either approach can work, but the safest method is to base waste on the full project total, especially if you can use leftover pieces from one room in another. This is also where good measuring matters. When you measure flooring accurately, the waste factor becomes a helpful buffer, not a replacement for correct square footage.
Finally, round up when ordering. Flooring is often sold by the box, and the box coverage may not match your exact total. Rounding up reduces the risk of running short, and it can also leave you with a few spare pieces for future repairs, which is useful if a plank gets scratched or a tile cracks later on.
How Do Specific Flooring Types Affect Measurement and Material Estimation?
When you measure flooring, the square footage math stays the same, but the material you choose can change how precise you need to be and how much extra you should plan for. Some floors are forgiving and can be trimmed quickly during installation, while others require more exact cuts and tighter planning. The layout you choose also matters. A simple straight run wastes less material than a diagonal install or a space with lots of doorways and corners.
The best approach is to measure the room carefully first, then think through the details that your flooring type introduces. That includes expansion gaps, plank direction, tile layout, and the kind of cuts you will need around walls and fixtures. When you understand those factors up front, you can measure flooring once and estimate materials with fewer surprises.
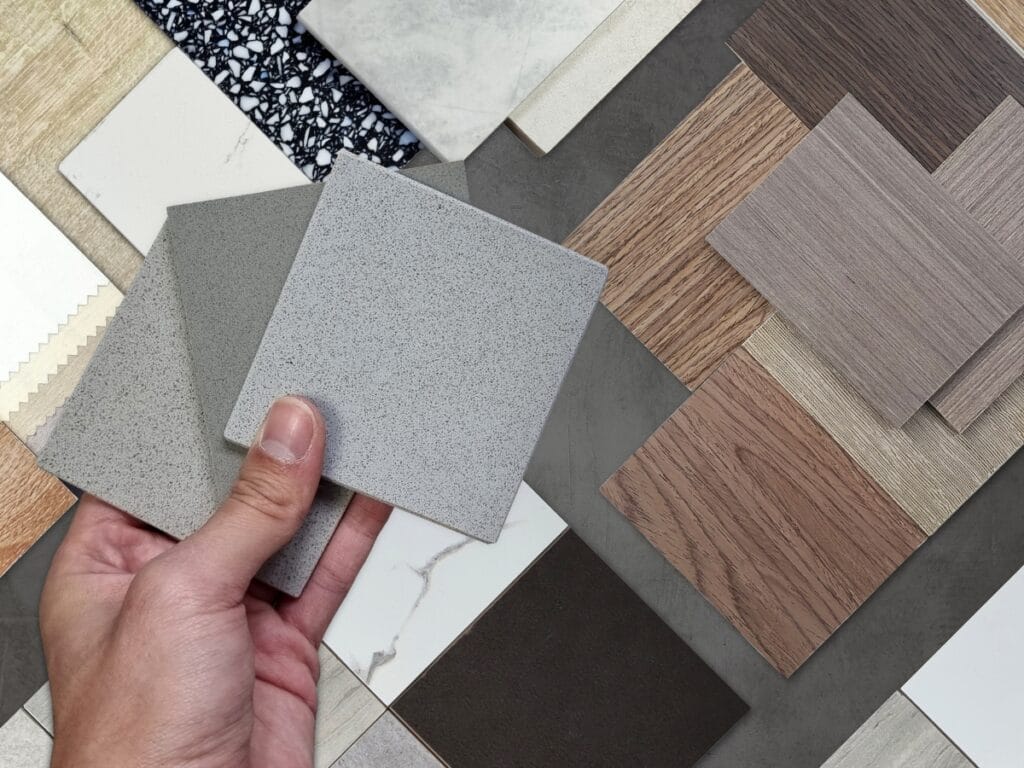
What Are Measurement Considerations For Tile, LVP, Laminate, And Hardwood?
Tile usually demands the most planning because you are not only measuring the room, you are also planning the layout. A tile pattern that is centered, aligned to a focal wall, or designed around a doorway can change where cuts land. That matters because small edge pieces often look worse than balanced cuts. Tile also has grout lines, which do not change square footage, but they do affect how the finished layout fits the room. Because tile cuts are less forgiving than plank cuts, it helps to double-check measurements and confirm the room is close to square before you commit to a starting line.
Luxury vinyl plank is generally easier to estimate because it is flexible in layout and simple to cut. You still need accurate measurements, especially if the install spans multiple rooms or you are trying to avoid thin slivers at the edges. With plank products, it is also worth planning your starting row so your first and last row are not awkwardly narrow. LVP is often used in large continuous areas, so transitions and doorways should be measured carefully to confirm where the material stops and starts.
Laminate is similar to LVP in how you calculate square footage, but it typically requires expansion gaps around the perimeter. You do not subtract for the gap when you measure flooring, but you should account for it in planning so the floor has room to move without buckling. Laminate also tends to be less tolerant of uneven subfloors, which can influence how smoothly the install goes if measurements were taken without checking for floor dips or uneven walls.
Hardwood requires careful planning because wood expands and contracts with seasonal changes. Like laminate, you usually leave expansion space at the edges. Hardwood installs also involve layout choices, such as board direction, which can affect how the floor looks and how many cuts you need. In older homes, walls are often not perfectly straight, so accurate measuring and a good layout plan help you avoid ending with narrow strips along one side of the room.
How Does Flooring Type Influence Waste And Installation Precision?
Waste varies because different materials create different kinds of off-cuts. Tile tends to have a higher waste factor because cuts are frequent and breakage can happen. Plank flooring usually wastes less in a straightforward room, but waste increases when you add diagonal layouts, many corners, or multiple transitions between spaces.
Installation precision also changes. Tile demands tighter control because once it is set, adjustments are limited. Plank floors are more forgiving, but sloppy measuring can still show up as narrow edge rows, uneven transitions, or awkward seams in visible areas. The takeaway is simple. Measure flooring the same careful way no matter what you choose, then adjust your material estimate based on how the product installs and how complex your room layout is.
When Should You Call A Professional For Flooring Measurement And Installation?
DIY measuring works well for many straightforward rooms, especially if you are working with a simple rectangle and a standard install. That said, there are plenty of situations where bringing in a pro is the safer move. If the space has multiple angles, transitions between rooms, or a layout that requires clean sightlines, small measuring errors can turn into visible problems. The same is true if you are working with tile patterns, diagonal plank installs, or rooms where walls are not square. In those cases, a professional can help you measure flooring more accurately and plan the layout so cuts land where they should.
A professional is also worth considering when time matters. Measuring a whole home or a commercial space takes longer than most people expect. Pros are able to move faster while still confirming details like subfloor conditions, doorway transitions, and expansion gaps. They can also identify issues that affect installation, such as uneven floors or moisture concerns, before materials are ordered and delivered.
What Are The Benefits Of Expert Measurement For Commercial And Residential Projects?
The biggest benefit is accuracy. Professionals measure with tools and methods designed to catch the details that are easy to miss, especially in older homes where rooms may not be perfectly square. That accuracy matters because the material estimate is only as good as the measurements behind it. When you measure flooring incorrectly, the most common outcome is ordering too little, which can delay the project, or ordering too much, which can inflate costs.
Efficiency is another factor. A pro can measure quickly, but they also know what to document. That includes closets, hallways, thresholds, and any permanent areas that change how the flooring will run. They can also plan layout decisions that impact material usage, such as plank direction, tile centering, and where to place transitions. Those choices can improve the finished look and reduce avoidable waste.
Cost savings often comes from avoiding mistakes rather than getting a cheaper price per square foot. When measurements and layout are done correctly, you are less likely to waste material due to poor planning or surprise cuts. You are also less likely to run into installation issues that require rework. For commercial spaces, professional measurement can be especially helpful because the stakes are higher. An incorrect estimate can disrupt schedules and affect how quickly the space can be used.
How Abel Pro Flooring Ensures Accurate Measurement And Quality Installation In Metro Atlanta
Abel Pro Flooring works with homeowners and businesses across Metro Atlanta and focuses on clear communication and precision throughout the process. For clients, that usually means accurate measurements, realistic material planning, and a layout approach that fits the space rather than forcing a generic install pattern. They work with common flooring types like tile, LVP, laminate, and hardwood, and they tailor measurement and installation details based on how each product performs in real homes and commercial environments.
A careful measurement process is not just about square footage. It includes planning for transitions between rooms, accounting for expansion needs, and confirming any layout choices that affect cuts and material use. When that planning happens early, the install tends to go smoother and the finished floor looks cleaner.
A Quick Note On Waste And Material Planning
Different flooring materials often require different waste allowances. Tile typically needs extra due to cuts and breakage. Plank products can be more efficient, but waste increases in rooms with many corners or if you choose a diagonal layout. No matter what material you choose, accurate measuring and smart planning go hand in hand. If you are unsure about a room’s shape, your layout, or your material estimate, having a pro measure flooring can help you avoid problems before the project starts.
In the end, measuring is the foundation of a successful installation. Whether you DIY or hire help, the goal is the same: reliable measurements, the right amount of material, and a layout that looks intentional once the floor is down.
Conclusion
Accurately measuring your space is the critical first step to a successful flooring project, ensuring you order the right amount of material and avoid costly mistakes. While following the right formulas is essential, complex layouts, stairs, or irregular rooms can complicate the process. For a precise, professional measurement and a flawless installation, trust the experts at Abel Pro Flooring. Don’t leave your project to chance. Call 404-566-0749 or visit our website for a free quote today and let our experienced team handle the details from start to finish.