
A scratch across luxury vinyl plank flooring can be hard to ignore once you spot it, but not every mark requires replacing the plank.
Some surface damage can be minimized surprisingly well, while deeper scratches, gouges, and dents call for a different approach. The challenge is knowing which repair methods are worth trying and which may make the damage more noticeable.
When it comes to flooring repair LVP scratches, the right fix depends on the depth, location, finish, and extent of the damage. Cleaning, manufacturer-approved repair products, touch-up methods, and individual plank replacement all have their place.
Before attempting a popular DIY hack, it pays to understand what actually works. Matching the repair to the damage can produce better results while protecting the appearance and integrity of your LVP flooring.
Flooring Repair LVP Scratches: What Homeowners Should Know
What Causes Scratches and Dents in Luxury Vinyl Plank Flooring?
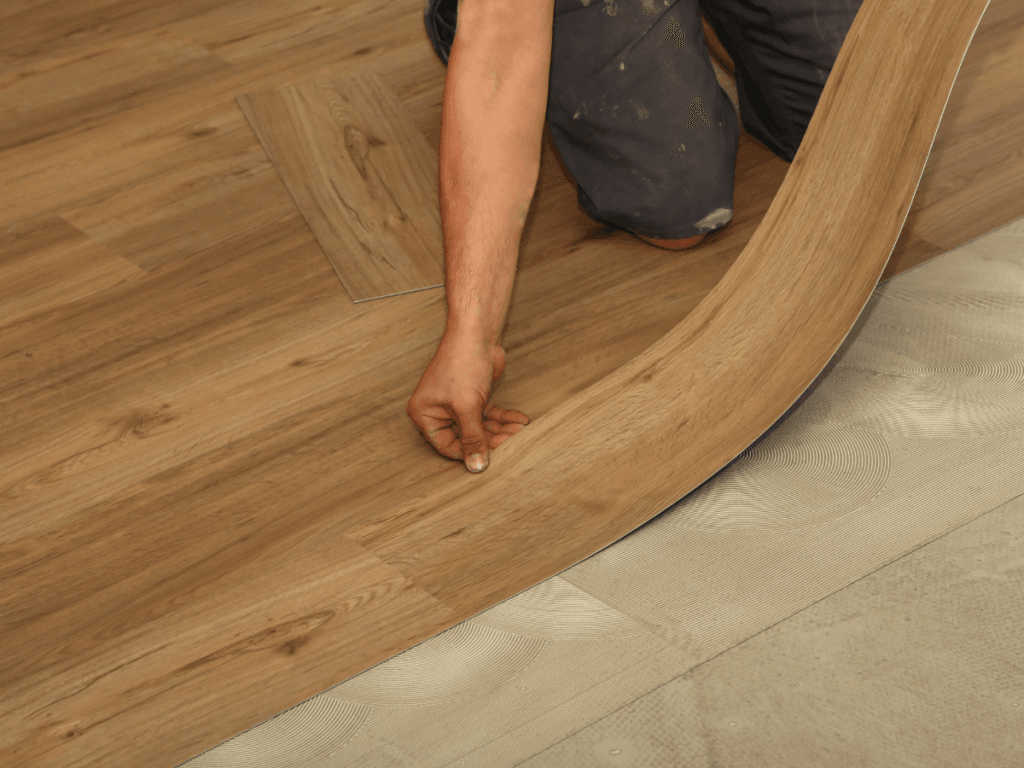
Luxury vinyl plank is designed to handle everyday household use, but it is not immune to surface damage.
Scratches, scuffs, dents, and gouges can develop from furniture, tracked-in debris, pet activity, dropped objects, and repeated traffic. The severity of the damage often depends on the wear layer, the amount of force involved, and how the flooring is used and maintained.
Before choosing a repair method, it helps to identify what actually happened. A faint mark in the finish is different from a gouge that cuts through the wear layer, and a dent caused by concentrated weight is different from a plank that appears uneven because of a subfloor or installation issue.
For homeowners researching flooring repair LVP scratches, that distinction can prevent unnecessary repairs and help determine whether a cosmetic fix or plank replacement is more appropriate.
Furniture Movement and Concentrated Weight Can Damage LVP
Dragging furniture is one of the most common ways to scratch vinyl plank flooring. Chair legs, tables, sofas, and appliances can trap grit underneath them, turning even a short movement across the room into an abrasive scrape.
Heavy furniture can create a different problem. Narrow legs or small contact points concentrate weight in one area, which can leave an indentation in the plank. Protective pads or furniture cups can spread that weight over a larger area and reduce pressure on the flooring.
When furniture must be moved, lifting is safer than sliding. For heavier pieces, use equipment designed for moving furniture rather than dragging the item directly across the floor.
Dirt and Grit Can Gradually Wear Down the Surface
Small particles tracked in from outdoors can behave like fine sandpaper under shoes. The damage is usually gradual rather than dramatic, but over time it can dull high-traffic areas and create fine scratches in the wear layer.
Entryways are especially vulnerable because they collect dirt, sand, and moisture from outside. Choosing durable materials and using appropriate mats can help reduce that wear.
Abel Pro Flooring’s advice on residential entryway flooring also highlights LVP as a practical option for busy areas where durability and routine maintenance matter.
Regular sweeping or vacuuming helps remove abrasive particles before they are repeatedly ground into the surface. A vacuum used on LVP should generally be set appropriately for hard flooring, without an aggressive beater bar that could contribute to scuffing.
Pets Can Cause Scratches, but Damage Varies
Pet claws can leave visible marks, particularly if a pet runs, pivots, or skids across the same areas repeatedly. The risk depends on the flooring’s wear layer, the pet’s size and activity level, and whether nails are kept trimmed.
Not every visible line is a deep scratch. Some marks may be superficial scuffs or residue sitting on top of the finish. Inspecting the area in good light can help determine whether the surface itself has been cut before attempting a more aggressive repair.
LVP is generally selected partly because of its durability and scratch resistance, but those qualities do not make it scratch-proof. Abel Pro Flooring’s LVP installation information similarly describes the material as suited to homes with pets, children, and everyday wear while still emphasizing appropriate care.
Dropped Objects Can Create Dents, Chips, or Gouges
A heavy or sharp object can cause more concentrated damage than normal foot traffic. Depending on the impact, the result may be a dent, chipped edge, puncture, or deep gouge through the decorative and protective layers.
Damage near plank edges or locking joints deserves particular attention because it may affect more than appearance. A damaged joint can interfere with how adjacent planks remain connected, especially in floating click-lock floors.
In some cases, replacing a damaged plank may provide a better result than attempting to disguise a deep gouge. Click-lock installations can sometimes make individual plank replacement possible, although accessibility depends on the room layout and where the damaged plank is located.
The company’s click-lock LVP installation guide explains how these floating systems connect and why damaged planks may sometimes be removable.
Poor Cleaning Methods Can Make Minor Damage Worse
Cleaning products and tools can also affect the wear layer. Abrasive scrubbers, harsh chemicals, unsuitable polishes, and aggressive cleaning equipment may dull the finish or create fine marks that become increasingly visible.
Gentle maintenance is usually safer. The flooring manufacturer’s cleaning recommendations should take priority because formulations and protective coatings vary between products. Dirt should be removed regularly, spills cleaned promptly, and cleaners should be appropriate for vinyl flooring.
The same principle applies when attempting flooring repair LVP scratches. A product intended to polish another flooring material may make vinyl cloudy, slippery, or more noticeable rather than repairing the damage.
Not Every Dent or Uneven Spot Is Surface Damage
A plank that dips, rocks, separates, or feels uneven underfoot may have an installation or subfloor problem rather than a simple dent. Uneven subfloors, debris beneath the flooring, poorly engaged locking joints, or insufficient expansion space can place stress on a floating LVP system.
That distinction matters because a surface treatment will not correct movement underneath the plank. If the flooring is lifting, separating at seams, flexing noticeably, or developing repeated damage in the same area, the underlying installation should be inspected before focusing on cosmetic repair.
Understanding the cause is therefore the first step toward choosing an effective solution. Light scratches, deep gouges, dents, and structural movement may all look like “damaged LVP,” but they do not necessarily call for the same repair.
Which Scratch Repair Techniques Work Best for LVP Flooring?
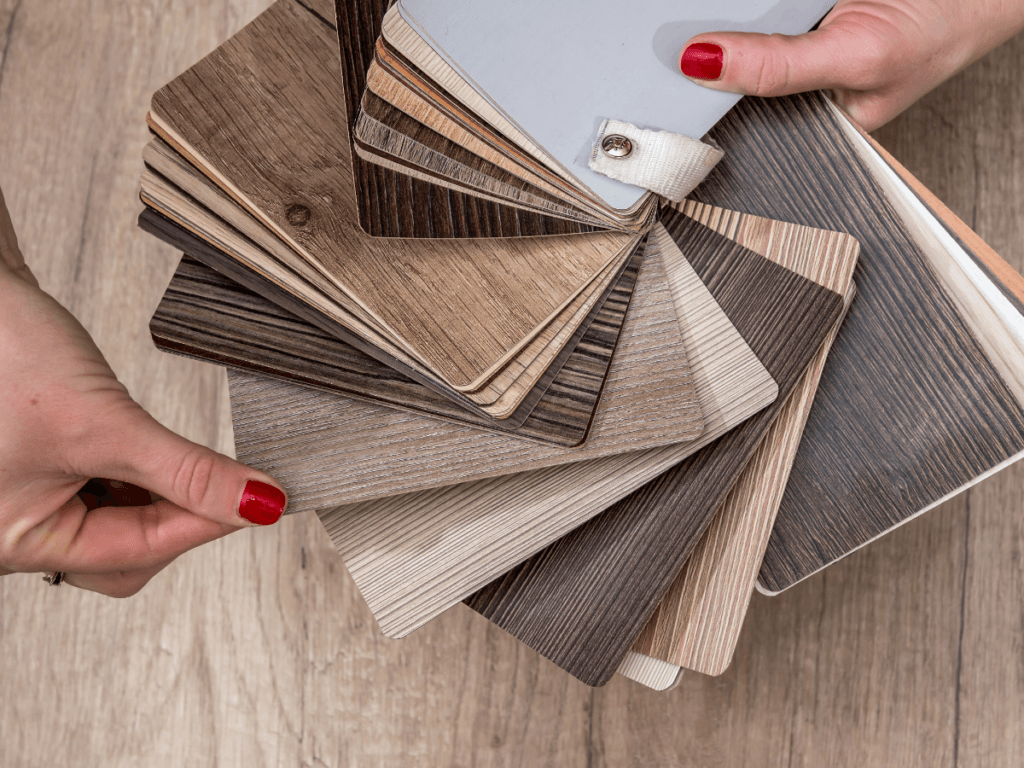
The right repair method depends on how deeply the damage extends into the plank. A faint surface scuff may need little more than careful cleaning, while a scratch that cuts through the wear layer or decorative film may be difficult to disguise completely.
Deep gouges, chipped edges, and damaged locking joints can make plank replacement the better long-term option.
Before trying any flooring repair LVP scratches method, clean the damaged area with a vinyl-safe product and inspect it under good lighting. Dirt, shoe residue, or transferred material can sometimes look like a scratch even when the protective surface is still intact.
Once the area is clean, it is easier to judge whether the mark is cosmetic or whether the plank itself has been damaged.
Start by Determining Whether the Mark Is a Scuff or a Scratch
Light scuffs sit on or near the surface and may disappear with gentle cleaning. Use a soft microfiber cloth and a cleaner approved for the flooring manufacturer rather than abrasive pads, harsh chemicals, or polishing compounds.
If the mark remains visible after cleaning, run a fingertip lightly across it. A line that cannot be felt may be limited to the finish, while a scratch with a noticeable groove has likely penetrated more deeply.
Avoid aggressive rubbing in an attempt to “buff out” the damage. Unlike hardwood, LVP does not have a thick wood surface that can be sanded repeatedly. The protective wear layer is relatively thin, and removing more material can make the damaged area more noticeable.
Can Scratch Fillers or Repair Kits Fix LVP?
Color-matched repair products can sometimes make light scratches, chips, or small gouges less noticeable, but they should be chosen carefully.
Vinyl repair kits may include fillers, markers, putties, or compounds designed to blend with the plank’s color and pattern. These products generally improve appearance rather than restore the original factory wear layer. Results also vary significantly depending on the texture and grain pattern of the floor.
Before applying anything, check the flooring manufacturer’s maintenance and warranty instructions.
Shaw, for example, distinguishes scratches, gouges, scuffs, and indentations from normal wear in its LVP warranty guidance, which reinforces why homeowners should avoid assuming that every damaged area can simply be polished away.
Test any repair product in an inconspicuous location first. A filler that is slightly too glossy, too dark, or too smooth can draw more attention to the repair than the original scratch.
Deep Gouges Usually Call for Plank Replacement
Once a scratch has cut through the wear layer and into the printed design, filling the groove may improve its appearance but cannot recreate the original manufactured surface.
Replacement becomes more attractive when the damage is deep, highly visible, located along a plank edge, or affecting the locking joint. The feasibility of replacing one plank depends partly on how the floor was installed.
Floating click-lock systems can sometimes be disassembled back to the damaged area so an individual plank can be exchanged. If the affected plank is far from the nearest wall or located beneath permanent fixtures, however, the job becomes more complicated.
For homeowners comparing flooring repair LVP scratches options, this is an important point: cosmetic repair and plank replacement are not interchangeable. A shallow mark may justify a touch-up, while structural or deep surface damage may require removing the plank entirely.
LVP Should Not Be Sanded or Refinished Like Hardwood
The original draft suggested professional refinishing as a solution for extensive scratches, but that approach is generally inappropriate for luxury vinyl plank.
LVP consists of multiple manufactured layers, including a printed design layer and protective wear layer. Sanding the surface can permanently damage those layers rather than reveal fresh material underneath.
COREtec, for example, specifically describes its wear layer and finish as surfaces that never need sanding, sealing, or refinishing.
A professional repair assessment can still be worthwhile, especially when the damage is widespread or when several planks are affected. The professional’s role is usually to determine whether the floor can be touched up, whether individual planks should be replaced, or whether broader replacement makes more sense.
Protect the Repaired Area From Repeat Damage
After addressing a scratch, identify what caused it so the same area is not damaged again. Felt pads can reduce abrasion beneath furniture legs, while protective mats can limit the amount of grit carried into high-traffic spaces.
Routine maintenance matters as well. Abel Pro Flooring’s guidance on maintaining LVP and other flooring in bright, high-use spaces recommends gentle cleaning products and avoiding abrasive scrubbers that can damage the protective surface.
The most effective repair is the least invasive method that matches the actual damage. Clean first, confirm how deep the mark is, follow manufacturer guidance for any repair product, and reserve plank replacement for scratches or gouges that cannot be safely concealed.
That approach protects the surrounding finish while giving the repair the best chance of blending into the existing floor.
What Are the Best Dent Repair Methods for Vinyl Plank Flooring?
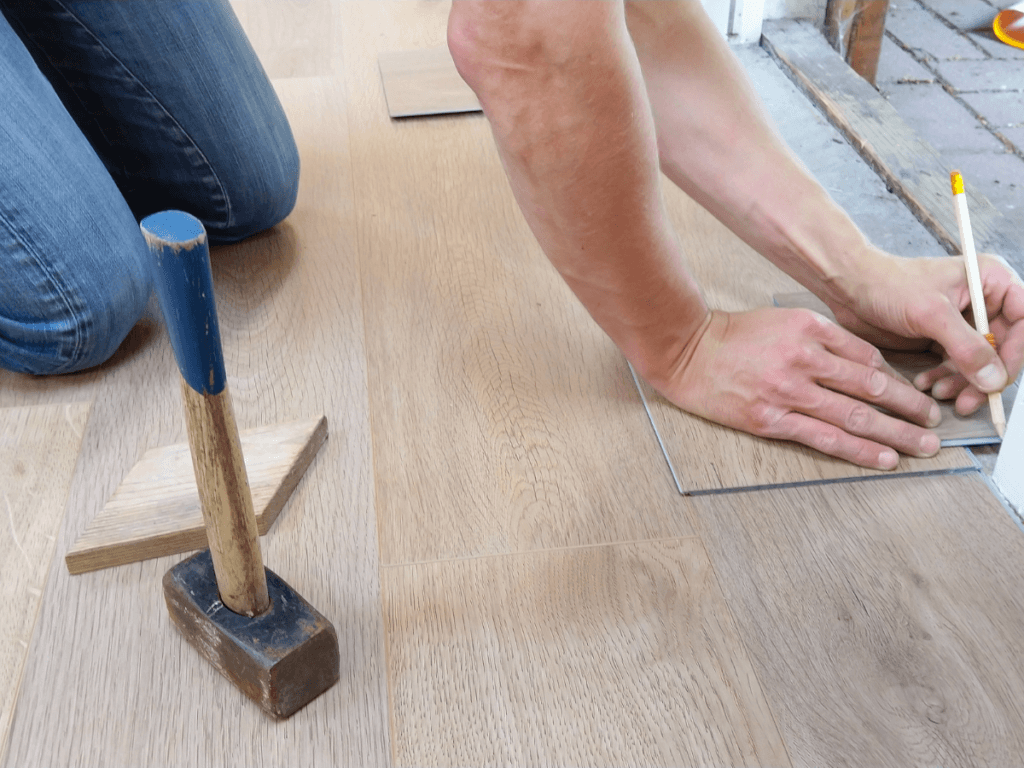
Dents in luxury vinyl plank flooring require a different approach from surface scratches. A scratch affects the visible wear layer, while a dent usually means the plank has been compressed or the flooring is being affected by pressure from above or a problem underneath.
Before attempting a repair, determine whether the indentation is limited to one plank, whether the surface is cracked or gouged, and whether the floor moves when stepped on.
For homeowners researching flooring repair LVP scratches and dents, this diagnosis matters because not every low spot can be safely pushed, heated, or pulled back into shape. In many cases, the better solution is to protect a minor indentation from further damage or replace a plank that has been permanently deformed.
Start by Determining What Caused the Dent
Heavy furniture is a common source of LVP indentations because narrow legs concentrate substantial weight over a small area.
Shaw recommends felt floor protectors and wide-load-bearing bases or rollers beneath heavy objects, noting that heavier items need wider protection to reduce the chance of indentations and scratches.
Dropped objects can also leave localized dents, particularly when the impact occurs at a corner or edge. Inspect the plank closely for cracking, whitening, chipped edges, or damage to the decorative surface. Those signs suggest the problem extends beyond a shallow indentation.
A low area that spans several planks deserves a different kind of inspection. If the flooring flexes, rocks, clicks, or sinks under pressure, the issue may involve an uneven subfloor or inadequate support rather than damage to the vinyl itself. In that situation, treating the visible dent will not address the underlying cause.
Should You Use Heat to Remove a Dent From LVP?
DIY advice sometimes recommends warming vinyl flooring with a hair dryer or heat gun so the material becomes more flexible. That technique should not be treated as a universal repair method.
Luxury vinyl products use different core materials, wear layers, finishes, and installation systems. Excessive or poorly controlled heat can distort the plank, affect the finish, loosen adhesive on glue-down flooring, or create changes that are more noticeable than the original dent.
Manufacturers may also impose temperature and maintenance requirements that affect warranty coverage. Shaw, for example, specifies temperature conditions for its LVP and excludes some forms of physical damage from normal wear coverage.
Heat does have legitimate uses in certain manufacturer-specified installation or plank-removal procedures. Older Mohawk instructions, for example, describe using a heat gun to release a damaged glue-down plank from adhesive during replacement.
That is very different from heating the center of a dent in hopes that it will rise again. Unless the flooring manufacturer specifically recommends heat for the product and type of damage involved, it is safer not to experiment.
Do Suction Tools Work on Vinyl Plank Dents?
Suction methods are another common online suggestion, but they are not a dependable general solution for LVP. A dent in flexible sheet material or thin metal can sometimes be pulled outward because the surface has physically changed shape while remaining elastic enough to return.
Luxury vinyl plank is a layered flooring product, and a compressed core or permanently deformed wear layer does not necessarily respond the same way.
Strong suction can also place stress on plank joints or the surface finish without correcting the compressed material underneath. If a dent is pronounced enough to require mechanical pulling, evaluating the plank for replacement is usually the more predictable approach.
When Is Replacing the Damaged Plank the Better Repair?
Replacement becomes more appropriate when the dent is deep, permanently visible, cracked, accompanied by a gouge, or located near a damaged locking edge. It may also make sense when an attempted cosmetic repair would remain obvious because the plank has a textured or highly detailed wood pattern.
The installation method determines how straightforward replacement will be. With a floating click-lock floor, technicians may be able to disassemble part of the floor and replace the damaged board. Glue-down products require a different removal and replacement process.
Although Abel Pro Flooring’s main flooring installation services cover LVP and other flooring types, the more important question for an existing damaged floor is whether the affected plank can be replaced without disturbing a much larger area.
That depends on the layout, installation system, location of the damage, and availability of a matching replacement plank.
When Should a Flooring Professional Inspect the Damage?
Professional evaluation makes sense when multiple planks are dented, the floor moves underfoot, seams are separating, or the damage appears alongside buckling or unevenness. Those symptoms may indicate installation or subfloor problems rather than isolated impact damage.
It is also worth getting an assessment when replacement planks are limited. Removing several rows of click-lock flooring unnecessarily can create additional work and increase the risk of damaging otherwise sound locking edges.
For flooring repair LVP scratches and dents, the safest strategy is usually conservative: identify the cause, avoid aggressive DIY techniques that are not approved for the product, and determine whether the damage is cosmetic or permanent.
Minor indentations may simply need monitoring and better furniture protection, while deep or structurally damaged planks are often better handled through replacement than attempts to force the vinyl back into shape.
How Do Professional LVP Repairs Compare With DIY Solutions?
Some luxury vinyl plank damage is reasonable to address yourself, while other problems become more expensive if an attempted repair makes them worse. The deciding factor should be the type and depth of the damage rather than simply whether a DIY kit is available.
Light scuffs and small cosmetic marks are often good candidates for careful homeowner maintenance. Deep scratches, damaged plank edges, broken locking joints, movement underfoot, or several affected planks call for more caution.
For homeowners researching flooring repair lvp scratches, knowing where that line falls can help avoid spending money on a cosmetic product when the floor actually needs a plank replaced or an underlying problem corrected.
When Does a DIY LVP Repair Make Sense?
DIY repair is most appropriate when the damage is small, clearly cosmetic, and limited to the surface. Before using any repair product, clean the area with a vinyl-safe cleaner and inspect it closely.
Some apparent scratches turn out to be scuffs, residue, or transferred material that can be removed without filling or altering the wear layer.
A manufacturer-approved touch-up product or color-matched repair kit may help make a shallow scratch less noticeable. The goal should be concealment rather than trying to grind, sand, or aggressively polish the damage away.
LVP has a manufactured wear layer and printed design beneath it, so removing material from the surface can create permanent discoloration or texture changes.
Before applying a filler, marker, putty, or other repair compound:
- Confirm that the product is intended for luxury vinyl flooring.
- Check the flooring manufacturer’s care and warranty guidance.
- Test the product in an inconspicuous area when possible.
- Clean and dry the damaged section thoroughly.
- Apply only as much material as the product instructions recommend.
- Allow it to cure fully before cleaning or walking heavily over the area.
Matching the existing plank can be harder than it sounds. Wood-look LVP may include several colors and grain variations, so a filler that matches the dominant color can still stand out if its sheen or texture is noticeably different.
When Is Professional Repair the Better Choice?
Professional assessment becomes more useful when the problem extends beyond a small surface mark. Deep gouges, chipped plank edges, damaged locking mechanisms, widespread scratching, separating seams, or flooring that flexes or rocks underfoot can indicate that a simple touch-up will not solve the problem.
A professional can determine whether an individual plank can be replaced, whether part of a floating floor needs to be disassembled, or whether the visible damage is connected to the subfloor or installation.
That diagnosis can be especially valuable when the damaged plank sits in the middle of a large room, beneath cabinetry, or near a transition where removal becomes more complicated.
Professional work is not automatically necessary for every visible defect, but it becomes more worthwhile as the consequences of getting the repair wrong increase.
How Do DIY and Professional LVP Repair Costs Compare?
DIY usually costs less upfront because the homeowner is paying primarily for cleaning supplies or a repair product. For one shallow scratch, that may be all that is necessary.
The calculation changes when the damage requires plank removal. Mistakes during disassembly can damage adjacent locking edges, and a replacement plank that does not match the existing floor can create a permanent visual difference.
If the original flooring is discontinued, preserving any leftover material becomes particularly valuable.
This is one reason keeping spare planks after installation is useful. Abel Pro Flooring’s guidance on measuring flooring and accounting for extra material notes that leftover pieces can be useful for future repairs if a plank becomes scratched or damaged.
When comparing costs, consider more than the price of the repair kit or professional visit. Factor in replacement material, tools, the possibility of damaging neighboring planks, and how visible the repair will be in a prominent part of the room.
How Do You Know Whether a Damaged Plank Should Be Replaced?
Replacement is generally worth considering when the decorative surface has been cut through, the plank is cracked or chipped, the locking edge has failed, or the damage remains conspicuous after a reasonable cosmetic repair.
Location matters as well. A small mark beneath furniture may not justify removing several rows of flooring, while the same damage in the middle of an open living area may be difficult to ignore.
For flooring repair lvp scratches, the most practical approach is to start with the least invasive option that suits the damage. Clean and inspect minor marks before treating them, use repair products conservatively, and avoid turning a cosmetic defect into a larger flooring project.
If the plank is structurally damaged or the floor itself is moving, professional evaluation is more appropriate than experimenting with increasingly aggressive DIY fixes.
What Maintenance Practices Help Prevent Scratches and Dents in LVP Flooring?
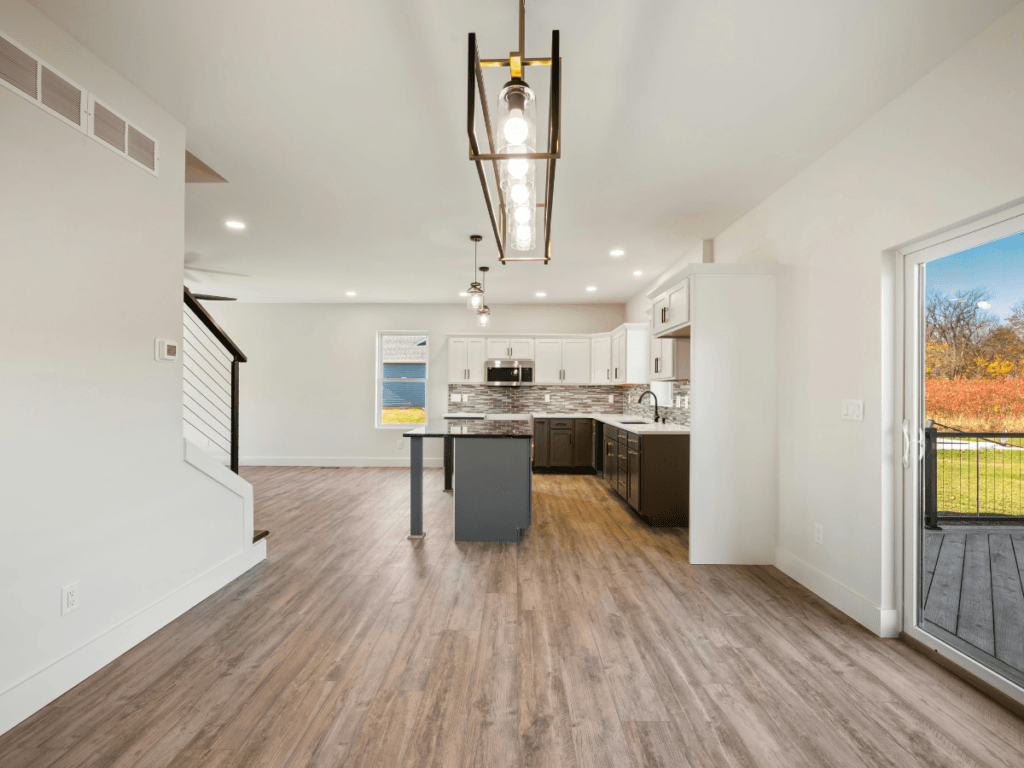
Luxury vinyl plank is relatively easy to maintain, but small habits can have a noticeable effect on how quickly its surface shows wear.
Dirt carried in from outdoors, furniture movement, rolling chairs, pet activity, and improper cleaning tools can gradually create scratches or pressure marks even when the flooring itself is in good condition.
Preventive care is particularly useful because many flooring repair LVP scratches problems are easier to avoid than disguise later.
A consistent routine should focus on removing abrasive debris, reducing concentrated pressure, protecting high-traffic areas, and using cleaning methods that preserve the wear layer rather than gradually dulling it.
Remove Dirt and Grit Before They Scratch the Wear Layer
Fine dirt, sand, and grit can act like abrasives when people walk across them repeatedly. Entryways, kitchens, hallways, and routes between exterior doors and living areas tend to collect the most debris, so these areas may need more frequent attention than less-used rooms.
Sweep with a soft broom, use a microfiber dust mop, or vacuum with a hard-floor setting. Avoid aggressive rotating brushes unless the flooring manufacturer specifically approves them.
Damp mopping can handle deeper cleaning, but the cleaner itself should be intended for vinyl flooring and used according to manufacturer directions.
Cleaning frequency should reflect the household rather than follow a rigid schedule. Homes with pets, children, frequent visitors, or direct access to outdoor spaces may need debris removed more often than low-traffic households.
Use Entry Mats Without Creating a New Flooring Problem
A well-positioned mat can catch dirt before it reaches the LVP surface. Mats placed inside exterior doors are especially helpful for collecting grit, small stones, and moisture from shoes.
However, not every rug or mat is suitable for vinyl flooring. Certain backings can discolor or react with some vinyl finishes, so it is important to check the flooring manufacturer’s recommendations before placing rubber, latex, or similarly backed products directly on the floor.
Mats should also be cleaned regularly. A dirty mat that holds large amounts of sand and debris can eventually transfer those particles back onto the surrounding flooring, reducing the benefit it was intended to provide.
Protect the Floor From Furniture Legs and Rolling Chairs
Stationary furniture can still damage LVP when substantial weight is concentrated through narrow legs. Felt pads or appropriately sized furniture protectors help distribute pressure and prevent the leg from rubbing directly against the surface.
Inspect these protectors periodically rather than installing them once and forgetting about them. Felt pads can collect grit, shift out of position, or wear down over time. A dirty pad beneath a frequently moved dining chair can become abrasive enough to scratch the floor it was meant to protect.
Rolling office chairs deserve similar attention. Hard or damaged casters can create repeated wear in a small area. Floor-safe wheels or an appropriate protective mat can reduce that concentrated traffic, particularly in a home office where the chair moves across the same section throughout the day.
Lift Furniture Instead of Dragging It
Furniture sliders are useful for some household surfaces, but they should not be treated as permission to drag every heavy object across LVP. Dirt trapped beneath a slider can still produce a long scratch, while heavy appliances or furniture can place enough pressure on the plank to create indentations.
Whenever practical, lift and carry furniture rather than pulling it across the floor. Larger pieces may require several people or appropriate moving equipment. Appliances are particularly important because their weight and sharp edges can damage more than one plank if moved carelessly.
After furniture has been repositioned, check the pads or protectors beneath it before setting the full weight down.
Keep Pet Nails and High-Activity Areas Under Control
Pets do not automatically make LVP a poor flooring choice, but frequent running, turning, and skidding can increase visible wear over time. Keeping nails trimmed can reduce the chance of repeated claw marks, particularly with larger or highly active animals.
Area rugs may also help in spaces where pets repeatedly accelerate or change direction, provided the rug backing is suitable for the flooring. The goal is not to cover the entire floor but to protect areas receiving unusually concentrated activity.
Pet-related dirt matters too. Paws can bring in grit from outdoors, so cleaning heavily used entrances and pathways can help limit both scratches and dulling.
Avoid Cleaning Products That Damage the Finish
A floor can look worn even without obvious scratches if unsuitable cleaners leave residue or alter the surface sheen. Abrasive powders, scouring pads, waxes, solvent-based products, and cleaners intended for unrelated flooring materials should not be used unless specifically approved for the LVP product.
Steam cleaning also deserves caution. High heat and moisture may not be appropriate for every vinyl flooring system, particularly around seams and joints. The manufacturer’s care instructions should always take priority over generic cleaning advice.
For flooring repair LVP scratches prevention, gentle and consistent maintenance is more useful than aggressive periodic cleaning.
Removing debris before it becomes abrasive, controlling pressure from furniture, protecting high-traffic zones, and using the right cleaning products all help preserve the wear layer and reduce the number of cosmetic repairs the floor will need over time.
What Should You Know About LVP Repair Costs and Warranty Coverage?
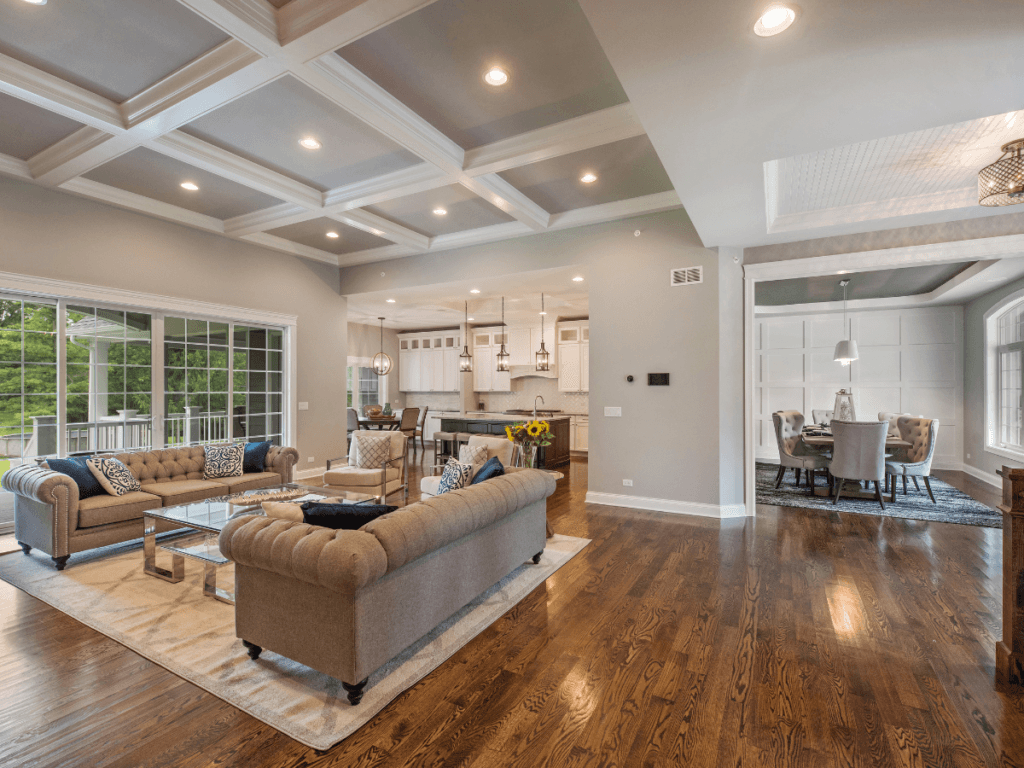
The cost of repairing luxury vinyl plank flooring can vary considerably because a light surface scratch and a damaged plank are very different projects.
A small cosmetic repair may require only a manufacturer-approved touch-up product, while deep gouges, broken locking edges, multiple damaged planks, or problems beneath the flooring can involve material replacement and professional labor.
For homeowners comparing flooring repair LVP scratches options, the most useful question is not simply, “How much does a repair cost?”
It is whether the damage can be corrected cosmetically, requires an individual plank replacement, or points to a larger installation problem. Warranty coverage should also be checked before work begins because an attempted DIY repair may complicate a claim.
What Factors Affect the Cost of an LVP Repair?
Repair pricing depends heavily on the type and location of the damage. A shallow scratch that can be concealed with a suitable repair product generally involves less work than a plank that must be removed and replaced.
Accessibility also matters. Replacing a click-lock plank near the edge of a room may be relatively straightforward because fewer boards need to be removed to reach it.
A damaged plank in the center of a large room can require considerably more disassembly and reinstallation. Glue-down flooring involves a different process because the damaged material must be separated from the adhesive and the replacement secured correctly.
Other factors that can influence the final cost include:
- The number of damaged planks
- Whether matching replacement material is available
- The condition of nearby locking joints
- Furniture or fixtures that must be moved
- Subfloor repairs or leveling
- Labor required to access and reinstall the affected area
If the damage is extensive enough that replacement becomes a realistic alternative, comparing repair costs with current LVP installation costs in Georgia can provide useful context.
The larger the affected area becomes, the more important it is to compare the cost and expected appearance of repairing individual sections against replacing a broader portion of the floor.
Are Scratches and Dents Usually Covered by an LVP Warranty?
Homeowners should not assume that a product warranty functions like accidental-damage insurance. Flooring warranties are commonly designed to cover qualifying manufacturing defects or specific performance failures rather than every type of damage that occurs after installation.
Surface scratches, gouges, cuts, punctures, furniture indentations, improper maintenance, and other forms of physical damage are frequently excluded from manufacturer coverage.
Warranty terms vary considerably by product, however, so the documentation for the exact flooring installed in the home should always be reviewed.
This distinction is particularly important when researching flooring repair LVP scratches. A visible scratch may be frustrating, but that does not necessarily mean the product has failed under its warranty. A defect involving delamination, premature wear-through, or another covered condition may be treated very differently.
What About Installation and Workmanship Warranties?
Product warranties and installation warranties cover different issues. The flooring manufacturer is generally responsible for qualifying defects in the material, while an installer or retailer may provide separate workmanship coverage for problems associated with installation.
For example, a manufacturing issue and a poorly prepared subfloor are not the same problem. Neither are accidental damage from moving furniture and a locking system that begins separating because the flooring was installed incorrectly.
If planks are lifting, separating, buckling, or moving underfoot, homeowners should determine whether the problem stems from the flooring product, installation, or an external cause before paying for repairs. The answer may affect which company should inspect the problem and whether any warranty applies.
What Should You Do Before Filing a Warranty Claim?
Before altering the damaged flooring, locate the original purchase documents and warranty information. It is also useful to identify the manufacturer, product name, installation date, and company that installed the floor.
Take clear photographs of the affected area and note when the problem first appeared. If the issue is changing over time, additional photographs can help document the progression.
Many warranty claims begin with the retailer or dealer that sold the flooring. Depending on the manufacturer, proof of purchase, photographs, product information, and a description of the problem may be required before the claim can be evaluated.
Avoid making an aggressive repair before checking the warranty. Sanding, heating, applying an incompatible chemical product, removing planks, or otherwise altering the damaged area may make it more difficult to determine the original cause.
When Does Repair Make More Sense Than Replacement?
Repair is usually most practical when damage is isolated, and the surrounding flooring remains sound. A shallow scratch that can be disguised successfully or one damaged plank with an available match may not justify replacing a large area.
Replacement becomes more reasonable when damage is widespread, matching planks are unavailable, several locking joints have failed, or the cost of accessing and repairing scattered areas begins approaching the cost of a larger flooring project.
The decision should account for appearance as well as price. A technically successful repair may still be disappointing if replacement planks differ noticeably in color because the existing floor has aged or the original product has been discontinued.
Before spending money, identify the cause, confirm whether warranty coverage may apply, and obtain a clear description of the proposed repair. That gives homeowners a better basis for deciding whether a cosmetic fix, individual plank replacement, or more extensive work offers the best value.
Conclusion
Scratches in LVP flooring do not always require full plank replacement, but the right repair depends on the depth and extent of the damage.
Minor surface marks may respond to simple touch-ups, while deeper scratches, gouges, or damaged wear layers often need more substantial repair or replacement to restore the floor properly.
Knowing when a DIY fix is enough and when professional attention is needed can help prevent further damage and produce a cleaner, longer-lasting result.
For professional LVP flooring repair and expert flooring solutions, choose Abel Pro Flooring. If you’re ready to restore scratched or damaged LVP flooring, call 404-566-0749 to speak with the team at Abel Pro Flooring or request your free quote today.