

Removing old tile may look like a straightforward demolition job, but anyone who has tackled it knows how quickly it can become messy, labor-intensive, and potentially damaging to the surface underneath.
From stubborn adhesives to clouds of dust and uneven subfloors, proper removal requires the right tools and techniques. Professional tile removal and demolition services provide a faster, more controlled approach for clearing ceramic, porcelain, stone, and other tiled surfaces.
Experienced crews can minimize unnecessary damage, manage debris, and prepare floors or walls for the next stage of renovation. Costs can vary considerably based on tile type, square footage, accessibility, and removal conditions.
This guide breaks down professional tile removal methods, key cost factors, and what to expect when hiring experts for your flooring demolition project.
How Tile Removal Prepares Your Floor for a Fresh Start
What Are Professional Tile Demolition and Removal Services?
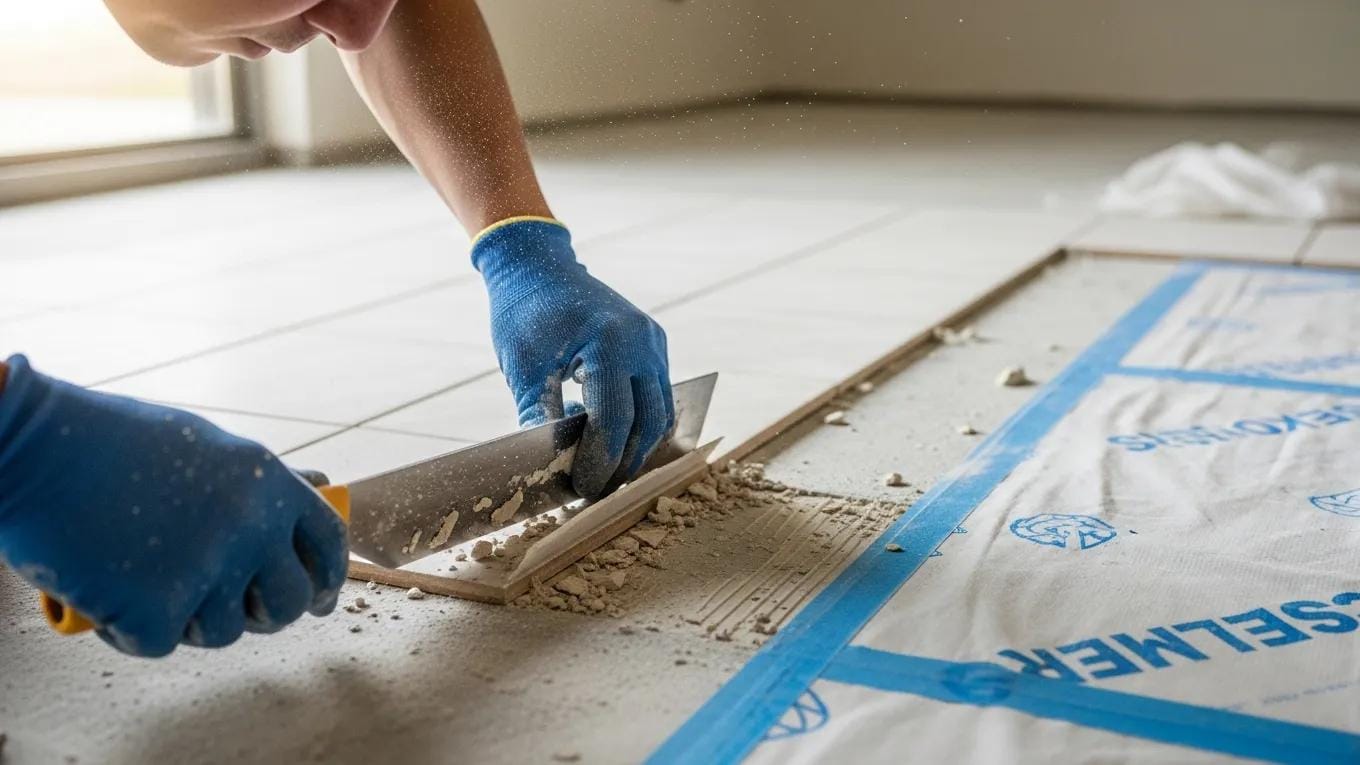
Professional tile demolition involves more than breaking up old flooring and hauling away the pieces.
A complete tile removal service takes the existing surface down to a suitable substrate so the area can be evaluated and prepared for whatever comes next, whether that is hardwood, luxury vinyl plank, new tile, or another flooring material.
That distinction matters because tile is only the visible layer of the installation. Beneath it may be thin-set mortar, adhesive, cement board, an underlayment, or a concrete or wood subfloor.
Removing the tile without properly addressing these layers can leave an uneven surface and create additional preparation work before new flooring can be installed.
For homeowners planning a renovation, professional tile removal can make the transition from demolition to new flooring considerably more manageable.
What Happens During Professional Tile Removal?
The exact process depends on the tile material, installation method, substrate, and size of the area. Ceramic tile installed over concrete, for example, may require a different approach than a backsplash attached to drywall.
A typical project begins with an inspection of the existing installation. The contractor determines what type of tile is present, how firmly it is bonded, what lies underneath it, and which surrounding surfaces need protection.
The work area is then prepared before demolition begins. Furniture and movable items are cleared, and nearby rooms, cabinets, fixtures, or other finished surfaces may need protection from debris and dust.
Contractors use demolition tools appropriate for the installation to loosen and remove the tile. On larger flooring projects, powered equipment can make the process more efficient than relying entirely on hand tools.
Removing the tile itself is only part of the job. Remaining mortar or adhesive may also need to be scraped, chipped, or mechanically removed so the substrate is suitable for the next stage of the project.
Why Subfloor Preparation Matters After Tile Demolition
One of the biggest reasons to treat tile removal as a professional demolition project is what can be uncovered underneath the finished surface.
Loose, cracked, or tented tiles do not always mean the tile itself was defective. Problems can originate with inadequate mortar coverage, poor bonding, movement in the substrate, moisture, or other installation conditions.
Removing the existing flooring gives the contractor an opportunity to see what was previously hidden.
Once demolition is complete, the exposed substrate should be checked for issues such as:
- Residual thin-set or adhesive
- Cracks or damaged areas
- Uneven sections
- Loose or deteriorated underlayment
- Signs of moisture problems
- Height differences that could affect the new flooring
This inspection is especially important when changing flooring materials. New hardwood, vinyl, laminate, or tile may have different requirements for flatness, stability, and moisture conditions.
Professional Tile Removal Can Reduce Unnecessary Damage
Tile demolition can become surprisingly destructive when the wrong technique or equipment is used. Aggressive removal may damage the underlying concrete or wood, while wall tile demolition can affect drywall, backer board, cabinets, countertops, or nearby fixtures.
Experienced contractors approach the job based on what needs to remain intact.
For example, removing a bathroom floor during a full gut renovation is different from removing a kitchen backsplash while preserving the surrounding cabinetry and countertops. A professional should adjust the demolition method accordingly rather than treating every project the same way.
That does not mean the underlying surface will always remain reusable. Some tile assemblies are bonded so firmly that portions of underlayment or wallboard may need replacement. A qualified contractor should be able to identify that possibility and explain it before or during the work.
How Dust-Controlled Tile Removal Improves the Renovation Process
Traditional tile demolition can produce a significant amount of fine dust, particularly when mortar or thin-set must be mechanically removed. That dust can travel beyond the immediate work area if the space is not properly contained.
Professional contractors may use a combination of containment methods, dust-extraction equipment, HEPA-filtered vacuums, and specialized removal tools to manage airborne debris. The exact setup depends on the project and equipment being used.
Homeowners comparing tile removal services should ask specifically how a contractor plans to control dust rather than assuming every company uses the same process.
Why Metro Atlanta Homeowners May Choose Professional Tile Demolition
DIY removal may be practical for a very small or lightly bonded area, but larger flooring projects can quickly become labor-intensive. Tile and mortar are heavy, demolition produces substantial debris, and preparing the substrate often takes longer than removing the visible tiles.
A professional service can handle demolition, surface preparation, debris management, and disposal as one coordinated phase of the renovation. This can be particularly useful when the next flooring installation depends on having a clean, stable, properly prepared surface.
The real value of professional tile removal is not simply getting old tile out of the house. It is leaving the space in the right condition for the next stage of the project.nd efficiently.
What Are the Best Practices for Safe Tile Disposal and Recycling?
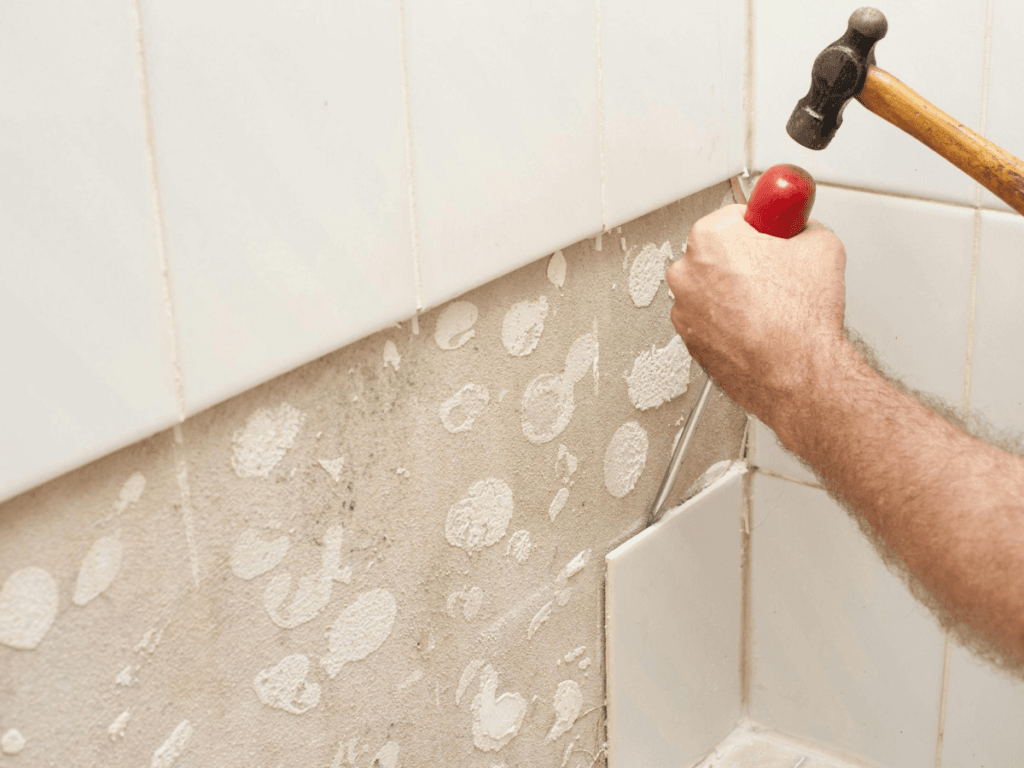
Removing tile creates more waste than the visible ceramic, porcelain, or stone surface.
Depending on how the floor or wall was installed, demolition debris may also include mortar, grout, adhesive, cement board, underlayment, and other construction materials. Planning where those materials will go is an important part of a tile removal project, particularly when renovating a large area.
The right disposal method depends on the material, its condition, and the rules of the local waste facility. Rather than assuming everything can go into household trash, homeowners should determine their disposal options before demolition starts.
Separate Reusable Tile Before Demolition
If the existing tile is still in good condition, decide whether any of it is worth preserving before removal begins. This is easier with tile that can be lifted intact, although strongly bonded flooring often breaks during demolition.
Saved tiles can be useful for future repairs, particularly if the same style is no longer manufactured. Extra intact material may also have potential for craft projects, small renovations, or donation.
Before donating used tile, contact the organization first. Acceptance policies vary, and some reuse centers may only take unused material, full boxes, or tile in specific conditions.
If reuse is possible, separate those pieces early instead of mixing them with broken tile and demolition debris.
Understand What Can Actually Be Recycled
Ceramic and porcelain tile are made primarily from mineral-based materials, but that does not mean they can automatically be placed in a residential recycling bin.
Construction-material recycling operates differently from curbside recycling. Whether tile is accepted depends on the facility, available processing equipment, contamination, and local markets for recovered material.
Some construction and demolition facilities may process mineral debris for use as aggregate or other secondary materials. Others may not accept tile for recycling at all. Natural stone, concrete-based materials, and mixed demolition waste can also have different requirements.
Before transporting debris, ask the facility:
- Whether ceramic, porcelain, or natural stone tile is accepted
- Whether mortar or grout can remain attached
- Whether materials must be separated
- Whether cement board or underlayment is accepted
- What fees apply
- Whether there are quantity or vehicle restrictions
Checking first can prevent a wasted trip and make sorting the debris much easier.
Follow Local Rules for Construction and Demolition Debris
Waste and recycling requirements can vary across Metro Atlanta because disposal services and regulations may differ by city, county, hauler, and facility.
A small amount of renovation debris may be handled differently from several hundred square feet of demolished flooring. Larger tile removal projects can generate substantial weight, so ordinary household trash service may not be appropriate.
Homeowners should check with their local sanitation department, waste hauler, or construction and demolition disposal facility before beginning work. Ask specifically about tile and flooring demolition materials rather than general household waste.
If you rent a dumpster, confirm what materials the provider allows. Weight limits are particularly important because tile, mortar, and cement-based products become heavy quickly.
Keep Tile Debris Separate From Hazardous Materials
Do not assume every material uncovered during demolition can be handled as ordinary construction debris.
Older homes can contain flooring adhesives, mastics, underlayments, or other building materials that may require additional evaluation before they are disturbed or disposed of. If you encounter an unfamiliar material, particularly during renovation of an older property, stop and determine whether testing or specialized handling is appropriate.
This is another reason demolition planning matters. Safe tile removal is not only about avoiding cuts from broken pieces. It also involves understanding the materials beneath the finished surface.
Protect Workers and the Home During Debris Handling
Broken tile has sharp edges, and bags or containers can become extremely heavy. Wear appropriate gloves, eye protection, footwear, and other protective equipment when handling demolition waste.
Avoid overfilling containers simply to reduce the number of trips. Smaller loads are generally easier to move safely and place less stress on bags, bins, and the people carrying them.
Dust should also be controlled during demolition and cleanup. Sweeping fine debris aggressively can send particles back into the air. Appropriate vacuum equipment and containment methods can help keep dust from spreading through finished areas of the home.
Ask What Disposal Includes in a Professional Tile Removal Service
If you are hiring a contractor, clarify waste handling before comparing estimates. Some companies include loading, hauling, disposal fees, and final cleanup in the quoted price, while others charge separately.
Ask where demolition debris will be taken and whether reusable or recyclable materials are separated when practical. You should also know whether the contractor supplies the dumpster or debris container and who is responsible for any excess disposal charges.
Responsible tile removal does not end when the old flooring comes off the substrate. Reusing suitable material, separating waste when practical, following local disposal requirements, and working with facilities that accept construction debris can make the entire renovation cleaner and better organized.
What Flooring Options Are Available After Tile Removal?
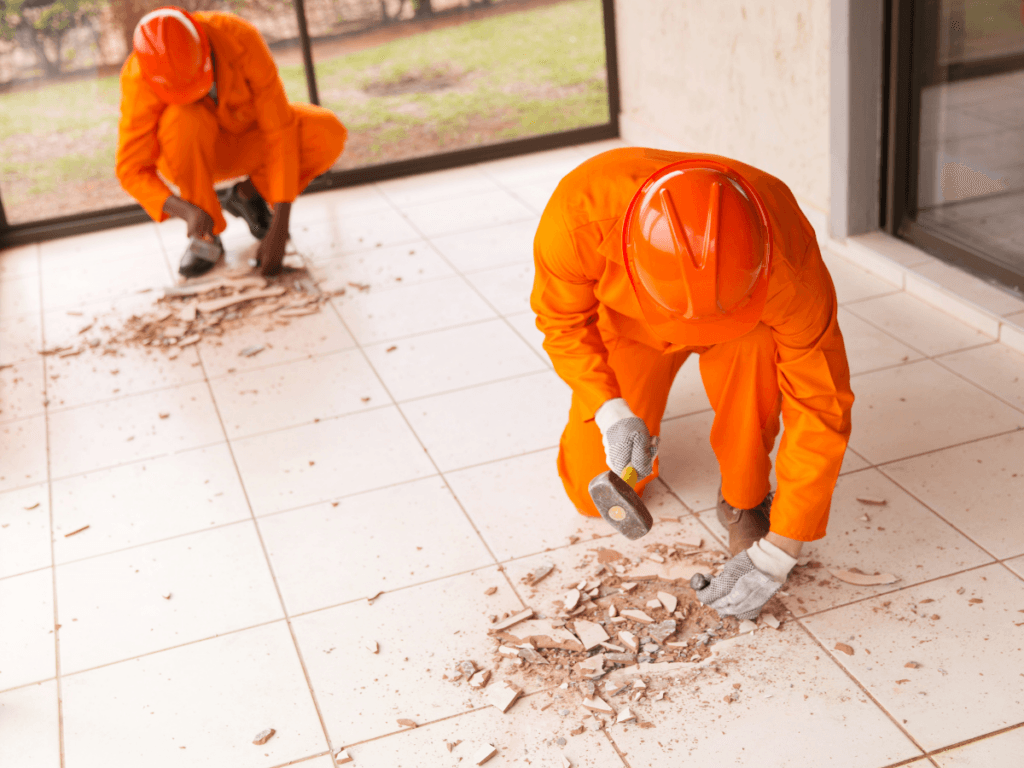
Once old tile is gone, the next flooring choice should be based on more than appearance. The condition of the exposed subfloor, the room’s moisture levels, foot traffic, comfort preferences, and the height of adjoining floors can all influence which material makes the most sense.
This is also one reason tile removal and new flooring installation should be planned together. Removing tile often exposes mortar, adhesive, cracks, uneven areas, or other conditions that were hidden beneath the finished surface. Those issues need to be addressed before a new floor goes down.
Compare LVP, Carpet, Engineered Hardwood, and Laminate
Four common replacement options are luxury vinyl plank, carpet, engineered hardwood, and laminate. Each serves a different purpose, so the best choice depends heavily on the room.
| Flooring | Best Suited For | Main Advantages | What to Consider |
|---|---|---|---|
| Luxury Vinyl Plank (LVP) | Kitchens, living areas, basements, busy households | Durable, easy to clean, available in water-resistant and waterproof products | Subfloor flatness and product quality matter |
| Carpet | Bedrooms, family rooms, low-moisture spaces | Soft, warm, comfortable, helps reduce footfall noise | More susceptible to stains and moisture |
| Engineered Hardwood | Living rooms, bedrooms, dining areas | Real wood surface, attractive appearance, good dimensional stability | Usually costs more than laminate or many LVP products |
| Laminate | Bedrooms, living spaces, hallways | Affordable, durable wear surface, wide range of designs | Water resistance varies considerably by product |
- Luxury vinyl plank is a practical option when durability and easy maintenance are priorities. It can reproduce the look of wood or stone without requiring the same care as natural materials. Because installation tolerances vary by product, however, the subfloor still needs to meet the manufacturer’s requirements for flatness and preparation.
- Carpet creates an entirely different result. Replacing hard tile with carpet can make bedrooms and other relaxation spaces feel softer and quieter underfoot. Padding also adds cushioning, although carpet is generally less suitable for areas where spills or moisture are frequent concerns.
- Engineered hardwood is worth considering when you want genuine wood rather than a printed wood-look surface. Its layered construction provides greater dimensional stability than traditional solid hardwood in many applications. Species, finish, plank dimensions, installation method, and site conditions all affect its suitability.
- Laminate can deliver a convincing wood or stone appearance at a relatively accessible price point. Modern products are available in many textures and finishes, but homeowners should compare specifications carefully. Water resistance, wear ratings, installation requirements, and warranties can vary between manufacturers and product lines.
Check the Subfloor Before Choosing Your New Flooring
The most important decision after tile removal may actually happen before you select the replacement material.
Once the tile and setting material are removed, the underlying surface should be inspected for cracks, damage, unevenness, residual adhesive, moisture concerns, and loose or deteriorated sections.
Installing new flooring over an unsuitable substrate can lead to movement, gaps, uneven surfaces, or premature flooring problems.
Different flooring materials also have different substrate requirements. A floating floor, for example, may tolerate certain conditions differently from a glue-down product.
Carpet requires appropriate padding and tack-strip preparation, while engineered hardwood may be floated, glued, or mechanically fastened depending on the product and subfloor.
Transitions deserve attention too. Removing thick tile and mortar can change the finished floor height relative to nearby rooms, stairs, doors, cabinets, or thresholds. Planning for these differences early can produce a cleaner finished installation.
Match the Replacement Flooring to the Room
Rather than choosing one flooring type for the entire house, think about how each room is actually used.
For a busy kitchen or entryway, resistance to spills and easy cleaning may rank highest. Bedrooms often benefit more from warmth, quiet, and comfort.
In living and dining spaces, appearance may carry more weight, making engineered hardwood an appealing option. Households with children or pets may prioritize scratch resistance and straightforward maintenance.
Climate and indoor conditions matter as well. Manufacturers typically specify requirements for acclimation, moisture, temperature, and subfloor preparation, so the installation method should follow the requirements of the particular flooring product.
Coordinate Tile Removal With the New Floor Installation
Professional flooring installation is not simply the step that happens after demolition. Ideally, the two stages are coordinated from the beginning.
Before tile removal starts, the installer should know what flooring will replace it. That allows the demolition and preparation work to account for the new material’s thickness, substrate requirements, transition points, and installation method.
After demolition, the installer can determine whether additional grinding, patching, leveling, cleaning, moisture evaluation, or other preparation is required. The goal is not merely to remove every piece of old tile. It is to leave behind a surface that is appropriate for the flooring being installed next.
Planning tile removal with the finished floor in mind can prevent unnecessary preparation work, reveal potential installation issues earlier, and create a smoother transition from demolition to the completed renovation.
How Much Does Floor Tile Removal Cost in Metro Atlanta?
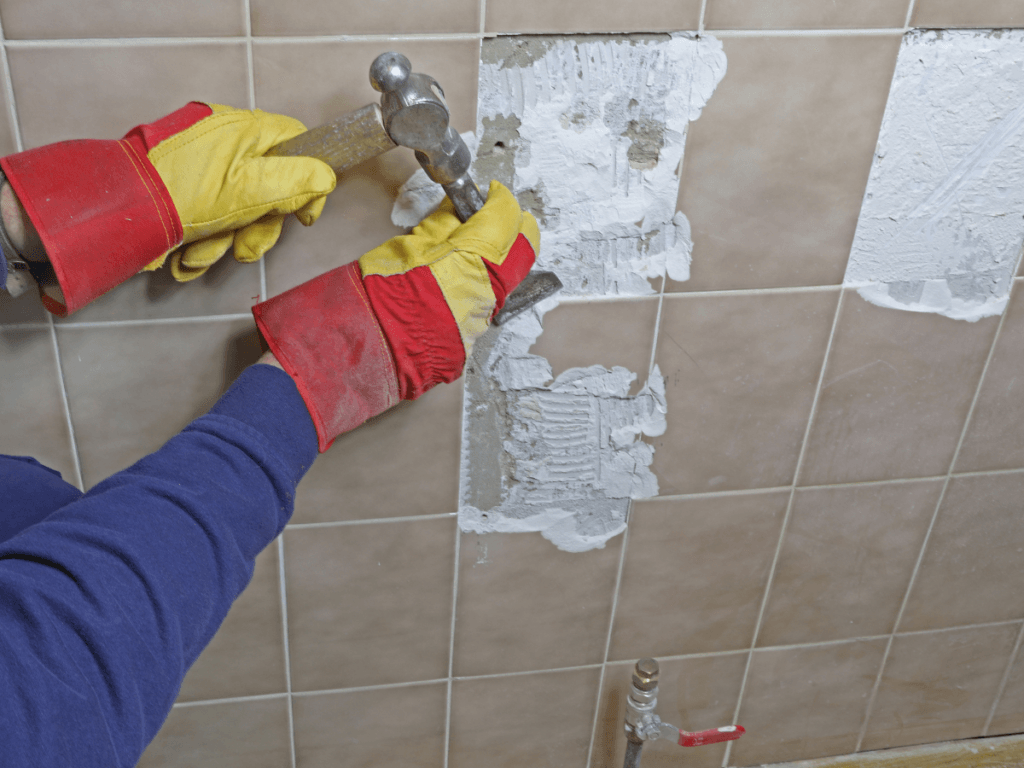
Tile removal pricing in Metro Atlanta is best treated as a project-specific estimate rather than a fixed price per square foot. Square footage matters, but two rooms of the same size can require very different amounts of labor depending on the tile, bonding material, substrate, accessibility, and condition of the existing floor.
Online estimates may provide a rough starting point, but homeowners should be cautious about applying a broad per-square-foot figure to their project without knowing what the quote includes. Some contractors price demolition only, while others include mortar removal, surface preparation, debris hauling, and disposal.
For an accurate comparison, ask for an estimate based on the existing flooring and the condition the subfloor needs to be in when the work is complete.
What Determines the Cost of Tile Removal?
The amount of flooring is usually the starting point, but several other factors determine how much time and equipment a project requires.
- Tile type and installation method. Ceramic, porcelain, natural stone, and other materials can behave differently during demolition. How the flooring was originally installed can matter even more. Tile that releases relatively easily from the substrate may require less labor than a floor with a strong mortar bond.
- Condition of the existing installation. Loose or already-failing tiles may come up quickly, while well-bonded flooring can require considerably more effort. Multiple layers of flooring or underlayment can also increase the scope of demolition.
- Subfloor material. Tile installed over a concrete slab presents different challenges from tile installed over cement board, plywood, or another underlayment. Contractors need to remove the finished flooring while considering what must remain underneath.
- Room layout. Large, open rooms tend to provide easier access for demolition equipment. Bathrooms, closets, hallways, kitchens with fixed cabinetry, and other confined spaces may require more detailed handwork.
Mortar and Adhesive Removal Can Change the Price
One of the most important questions to ask when comparing estimates is what happens after the tile comes up.
Removing tile often exposes thin-set mortar or adhesive that remains bonded to the substrate. If new flooring requires a smooth or sufficiently flat surface, that material may need additional grinding, scraping, or mechanical removal.
This can represent a meaningful portion of the work.
A demolition-only quote may therefore look less expensive than a quote that includes preparing the floor for the next installation. Before comparing prices, confirm the expected condition of the substrate at project completion.
If the contractor is also installing your new flooring, ask what level of preparation is included in the demolition price and what would be billed separately.
Dust Control May Affect the Estimate
Tile demolition can generate substantial dust, particularly when removing mortar from concrete. Contractors that use specialized dust-control equipment may price their work differently from companies performing conventional demolition.
When requesting an estimate, ask how dust will be managed. Depending on the project, contractors may use HEPA-filtered vacuums, dust-extraction equipment, containment barriers, or demolition tools connected directly to vacuum systems.
Dust-controlled tile removal can be particularly valuable when demolition is taking place in an occupied home or near finished areas that will remain untouched.
Debris Removal and Disposal Should Be Included in Your Comparison
Old tile, mortar, cement board, and other demolition materials can create a surprising amount of heavy debris. Hauling and disposal may be included in the contractor’s price or charged separately.
Ask whether your estimate covers:
- Removal of demolished tile and mortar
- Loading and hauling
- Disposal or dump fees
- Jobsite cleanup
- Removal of underlayment, if necessary
Understanding these details makes it easier to compare bids fairly.
Watch for Subfloor Repairs That Cannot Be Priced in Advance
Demolition sometimes reveals conditions that were impossible to see beforehand. Cracks, damaged underlayment, moisture concerns, uneven areas, or other substrate problems may require attention before new flooring can be installed.
These repairs should not automatically be treated as part of the original tile removal price unless they are specifically included in the contract.
Ask contractors how unexpected conditions are handled and whether additional work requires your approval before proceeding. A clear change-order process can prevent surprises once demolition begins.
How to Get an Accurate Tile Removal Estimate
The most useful estimate comes from evaluating the actual project rather than multiplying the room’s dimensions by a generic rate.
Provide the contractor with the approximate square footage, tile type, location, accessibility, and information about the flooring you plan to install afterward. An on-site inspection may reveal additional factors that cannot be identified from photos alone.
When comparing Metro Atlanta tile removal estimates, focus on the complete scope of work rather than the lowest quoted rate.
A proposal that includes demolition, mortar removal, dust management, debris disposal, and appropriate substrate preparation may provide a much clearer picture of the project’s true cost than a low per-square-foot demolition price.
Conclusion
Professional tile removal can make the transition to new flooring safer, cleaner, and far more efficient, especially when dealing with stubborn adhesives, large areas, or materials that require specialized demolition equipment.
Understanding the scope of the project and potential costs ahead of time can also help homeowners plan their renovation with fewer surprises. With experienced professionals handling the removal and preparing the surface for what comes next, you can start your flooring upgrade on a solid foundation.
For professional tile removal and expert flooring services, choose Abel Pro Flooring. If you’re ready to remove outdated tile and give your space a fresh start, call 404-566-0749 to speak with the team at Abel Pro Flooring or request your free quote today.